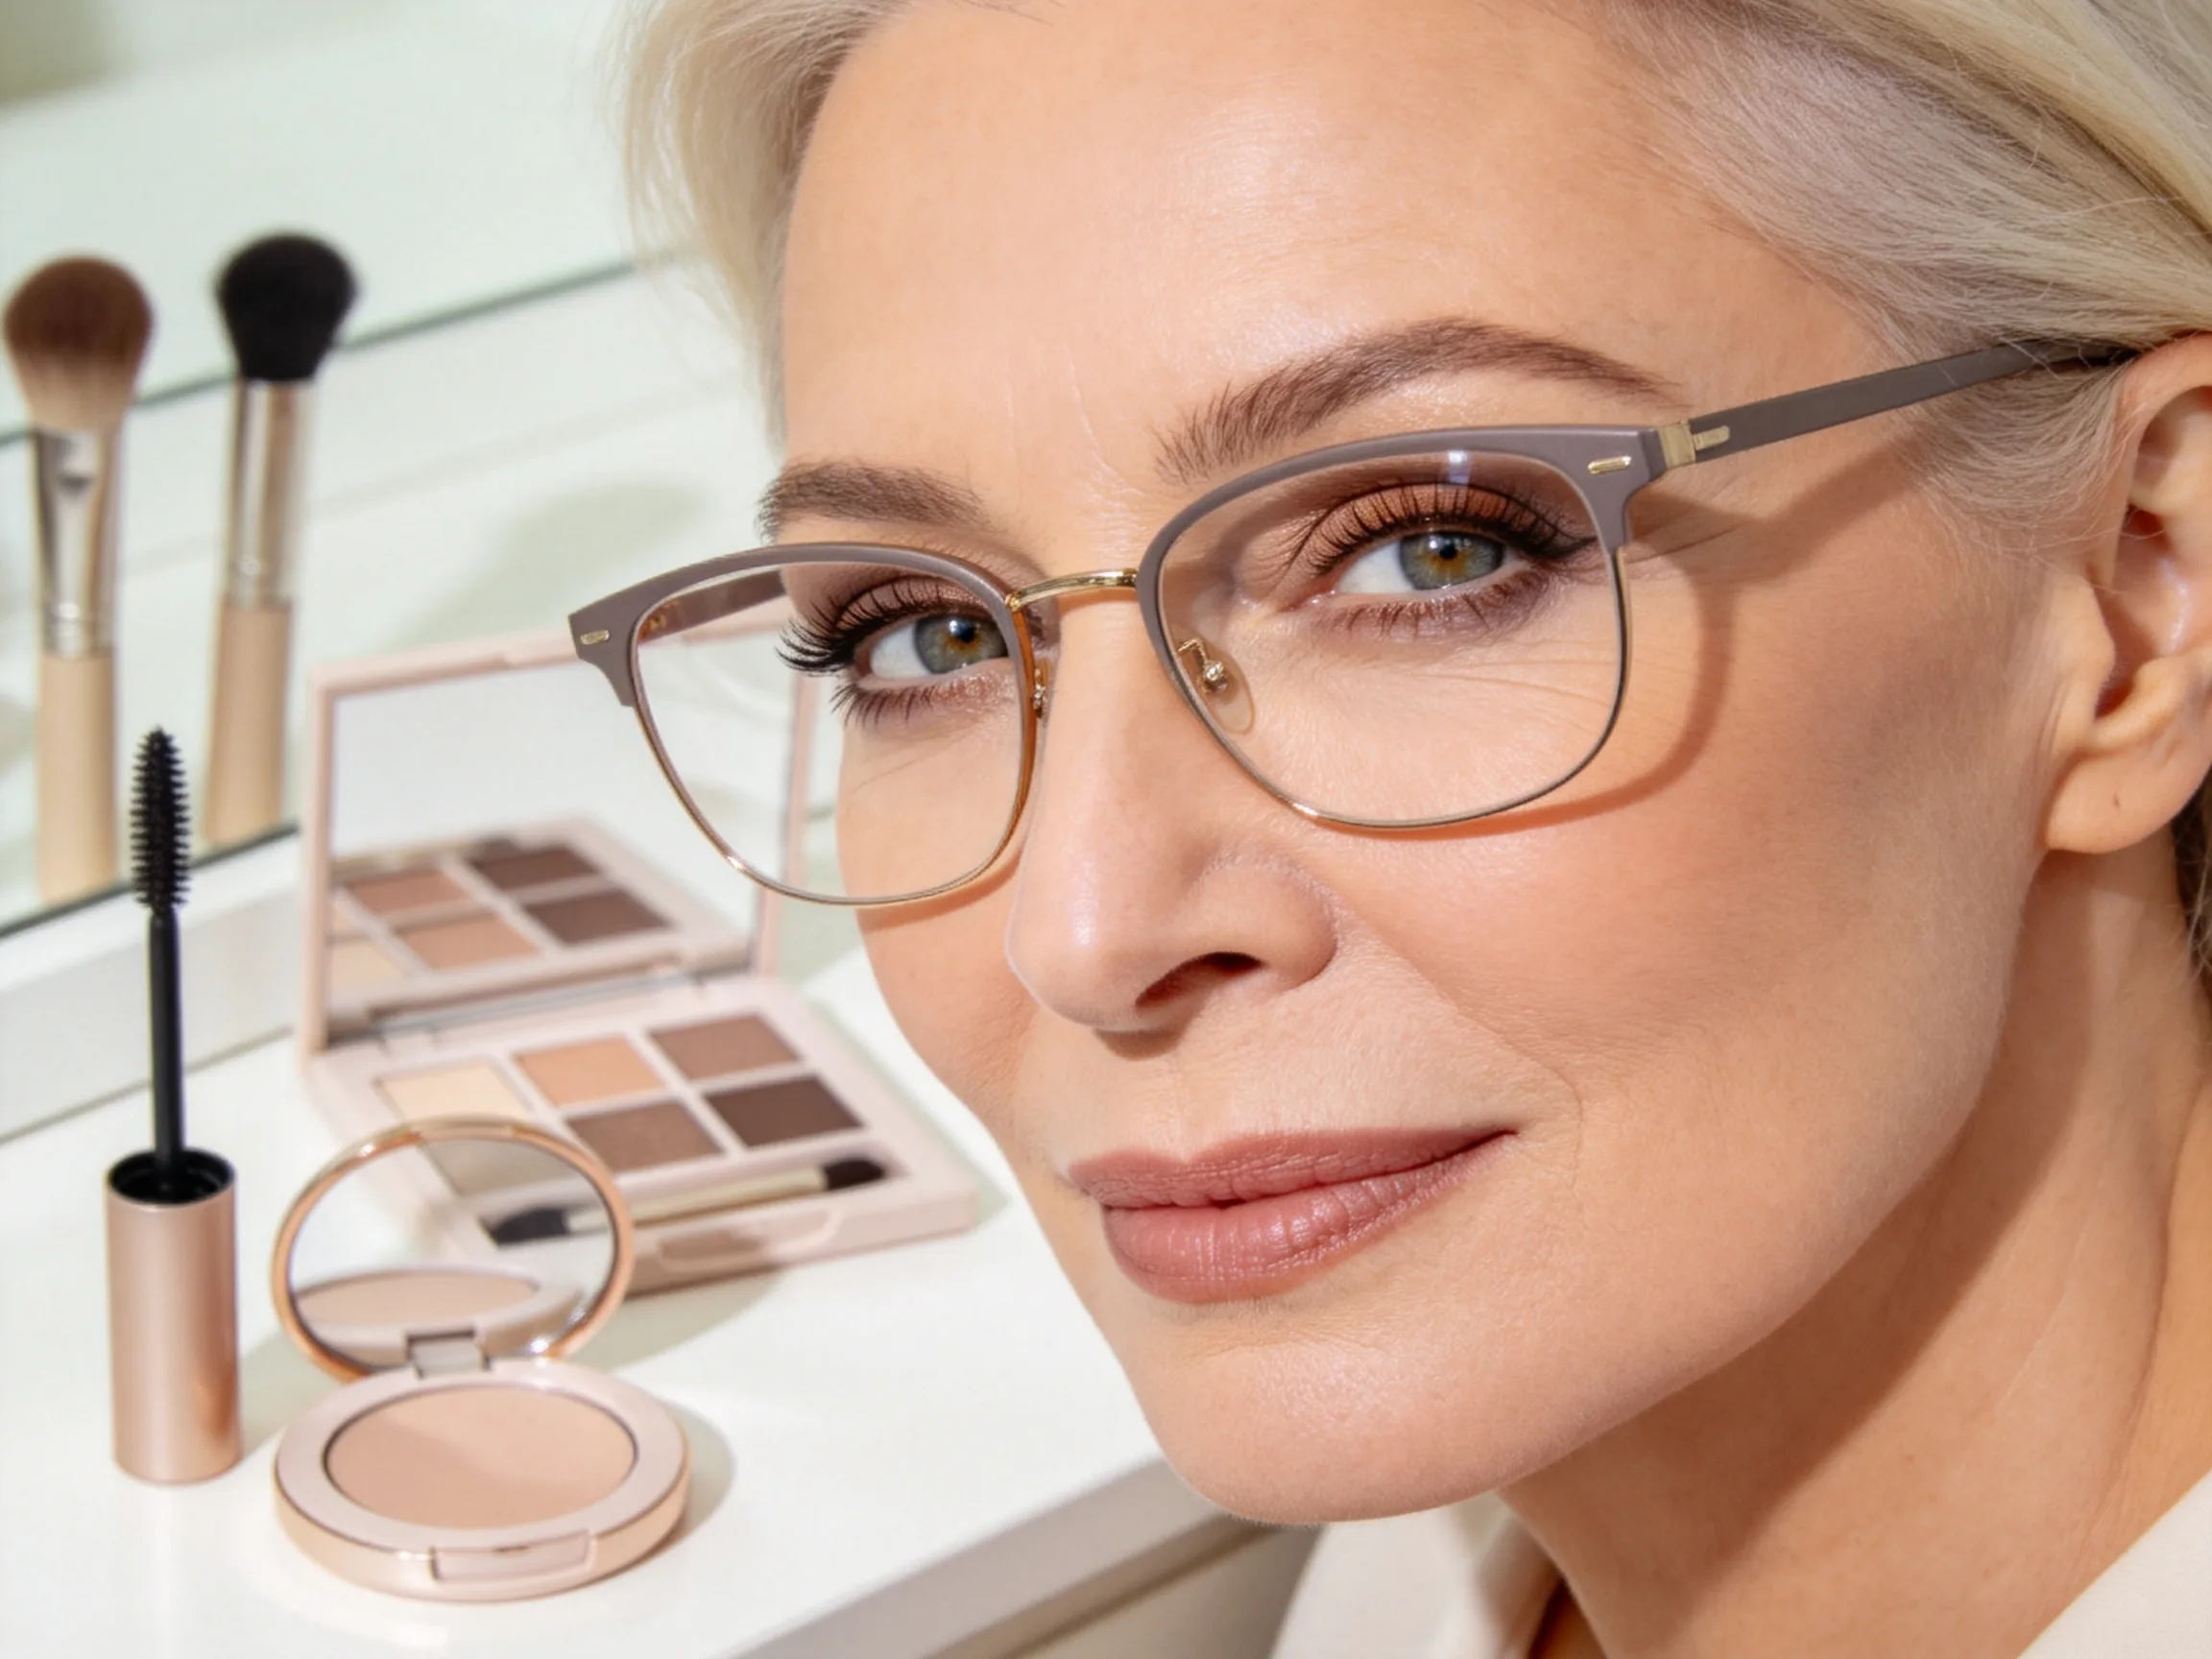
Glasses can change how eye makeup looks by adding reflection, magnifying certain areas, or framing the eyes with bold color. These practical tips use lightweight textures, precise placement, and frame-friendly shades to keep your eye makeup visible and comfortable throughout the day.
1. Begin with a Hydrating Eye Primer
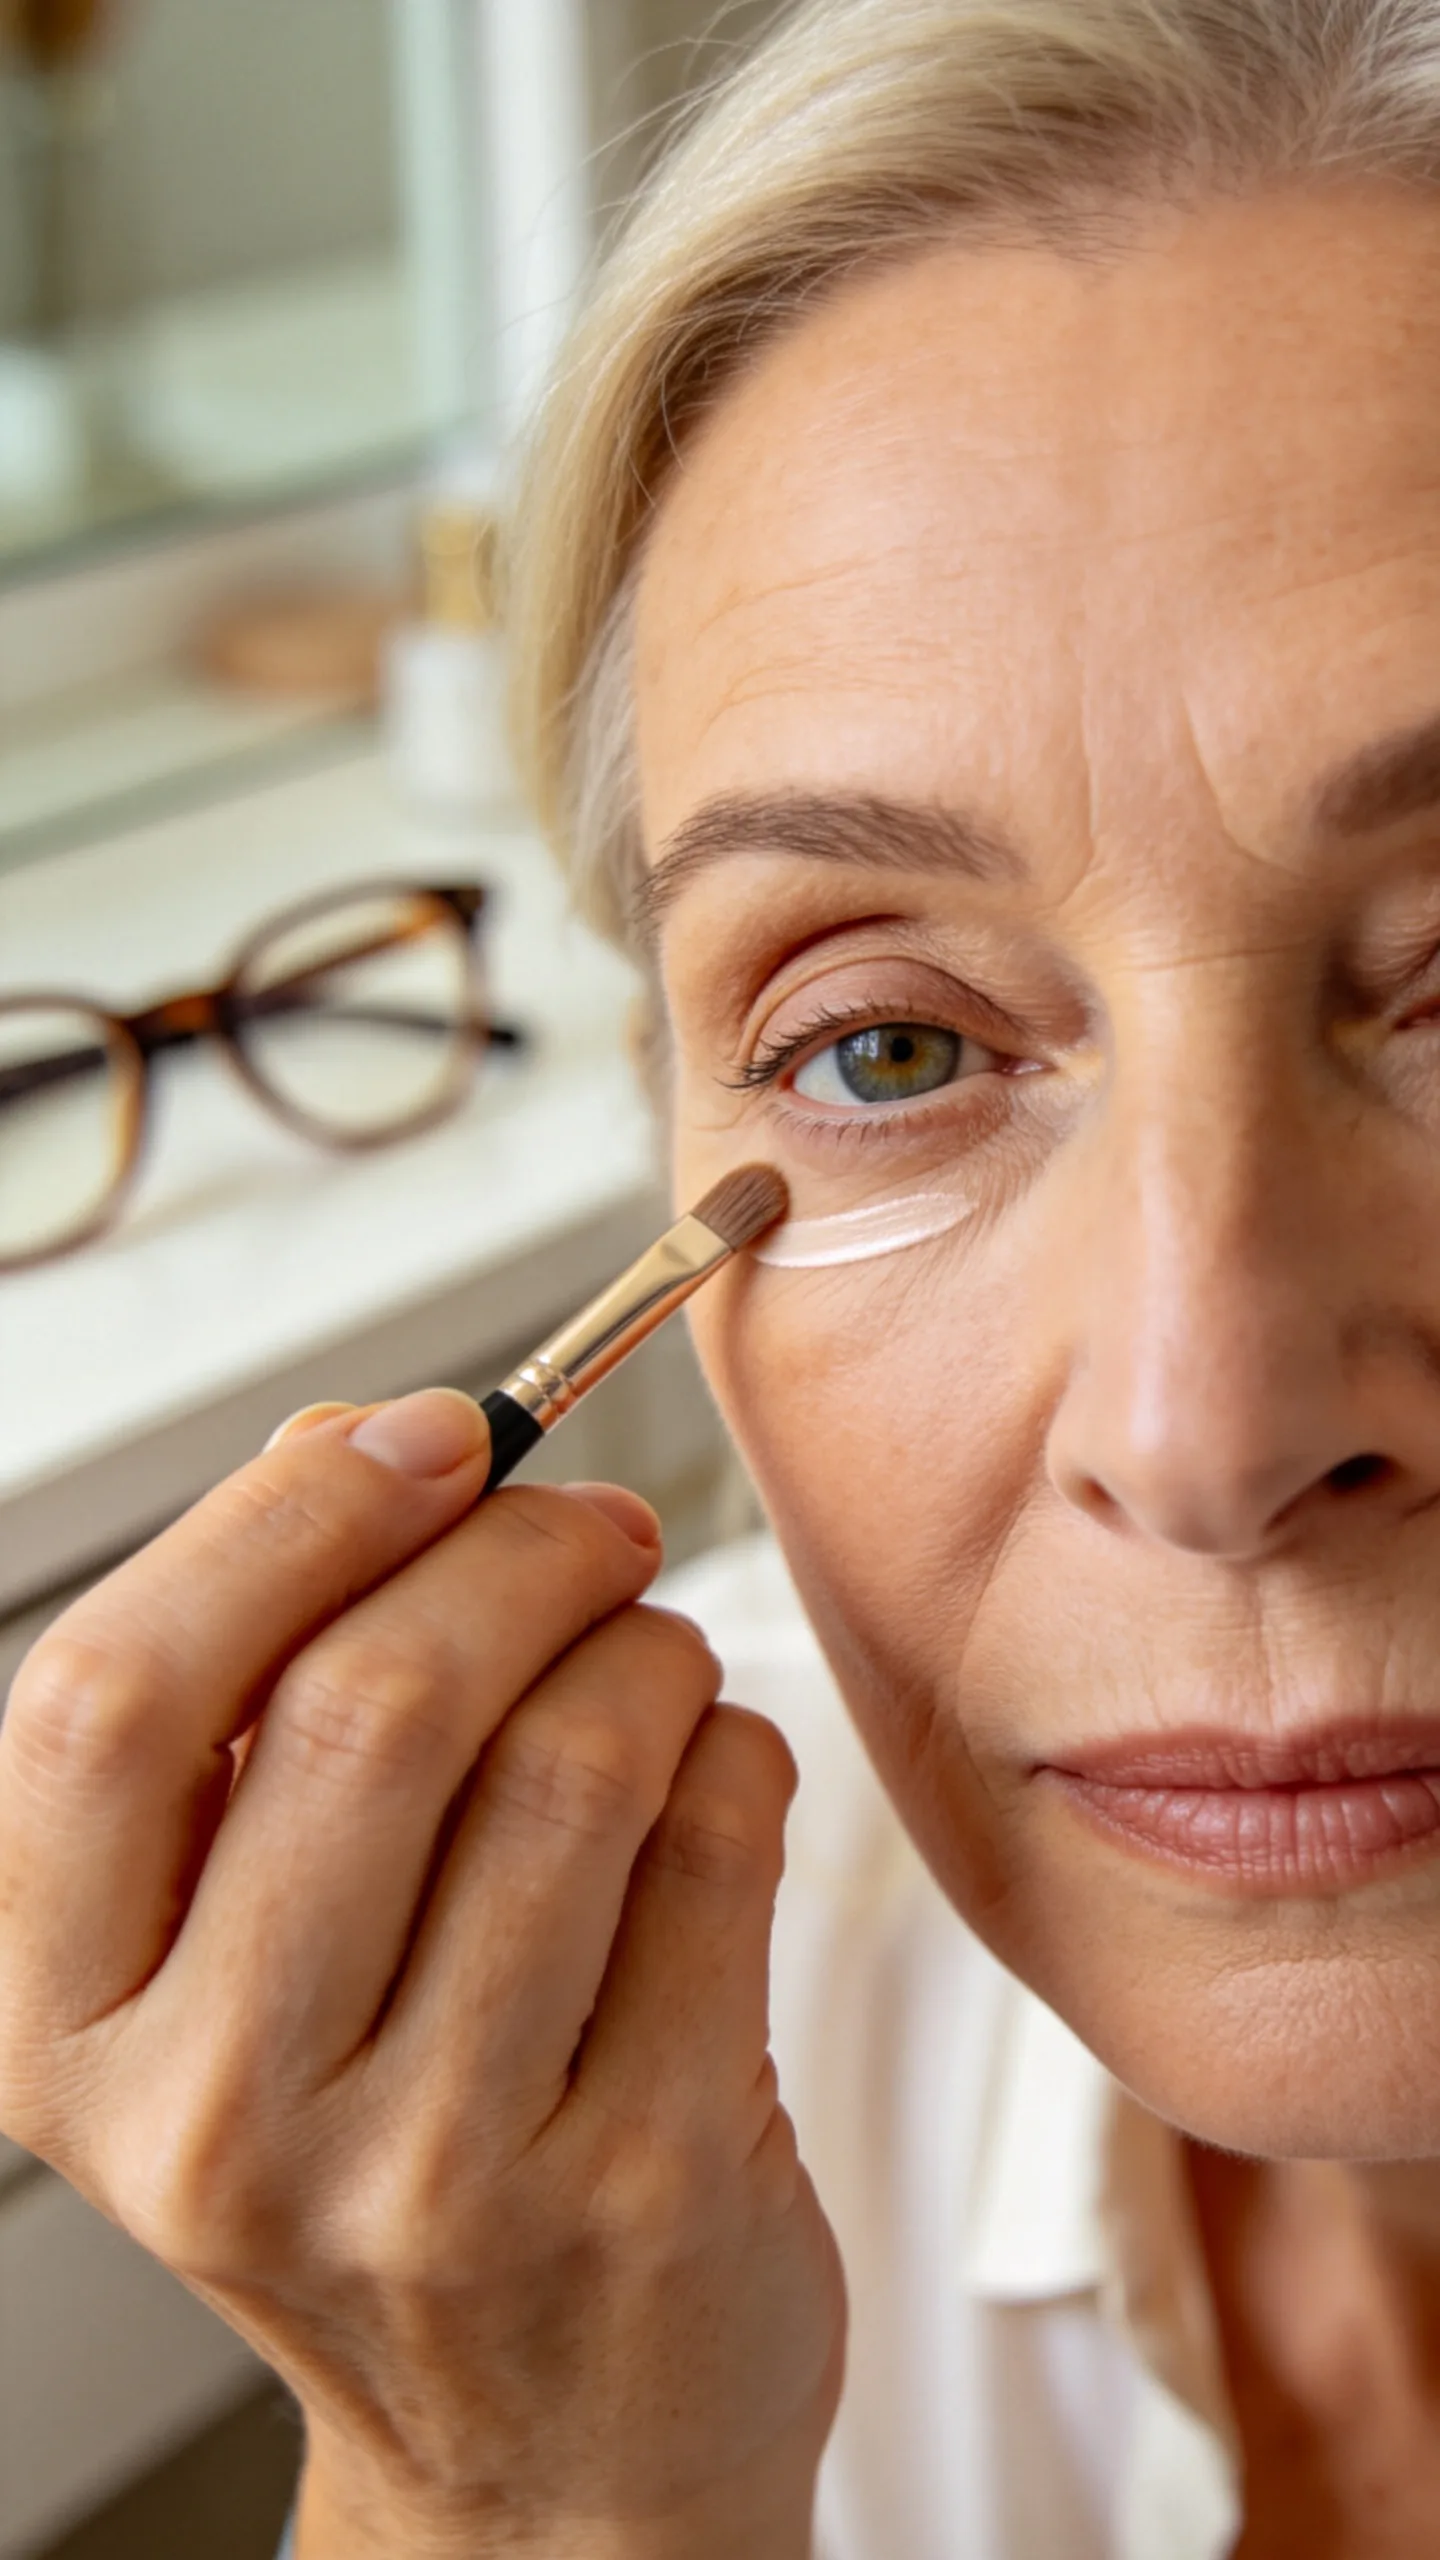
Smooth a thin layer of hydrating eye primer across the lids before applying shadow. Choose a formula that reduces creasing without leaving the skin sticky, then allow it to set for a minute before adding color.
Keep the primer inside the natural eye area so it does not transfer onto the lenses or frame. A small flat brush can spread the product evenly across textured or hooded eyelids.
2. Use Matte Taupe to Define the Crease
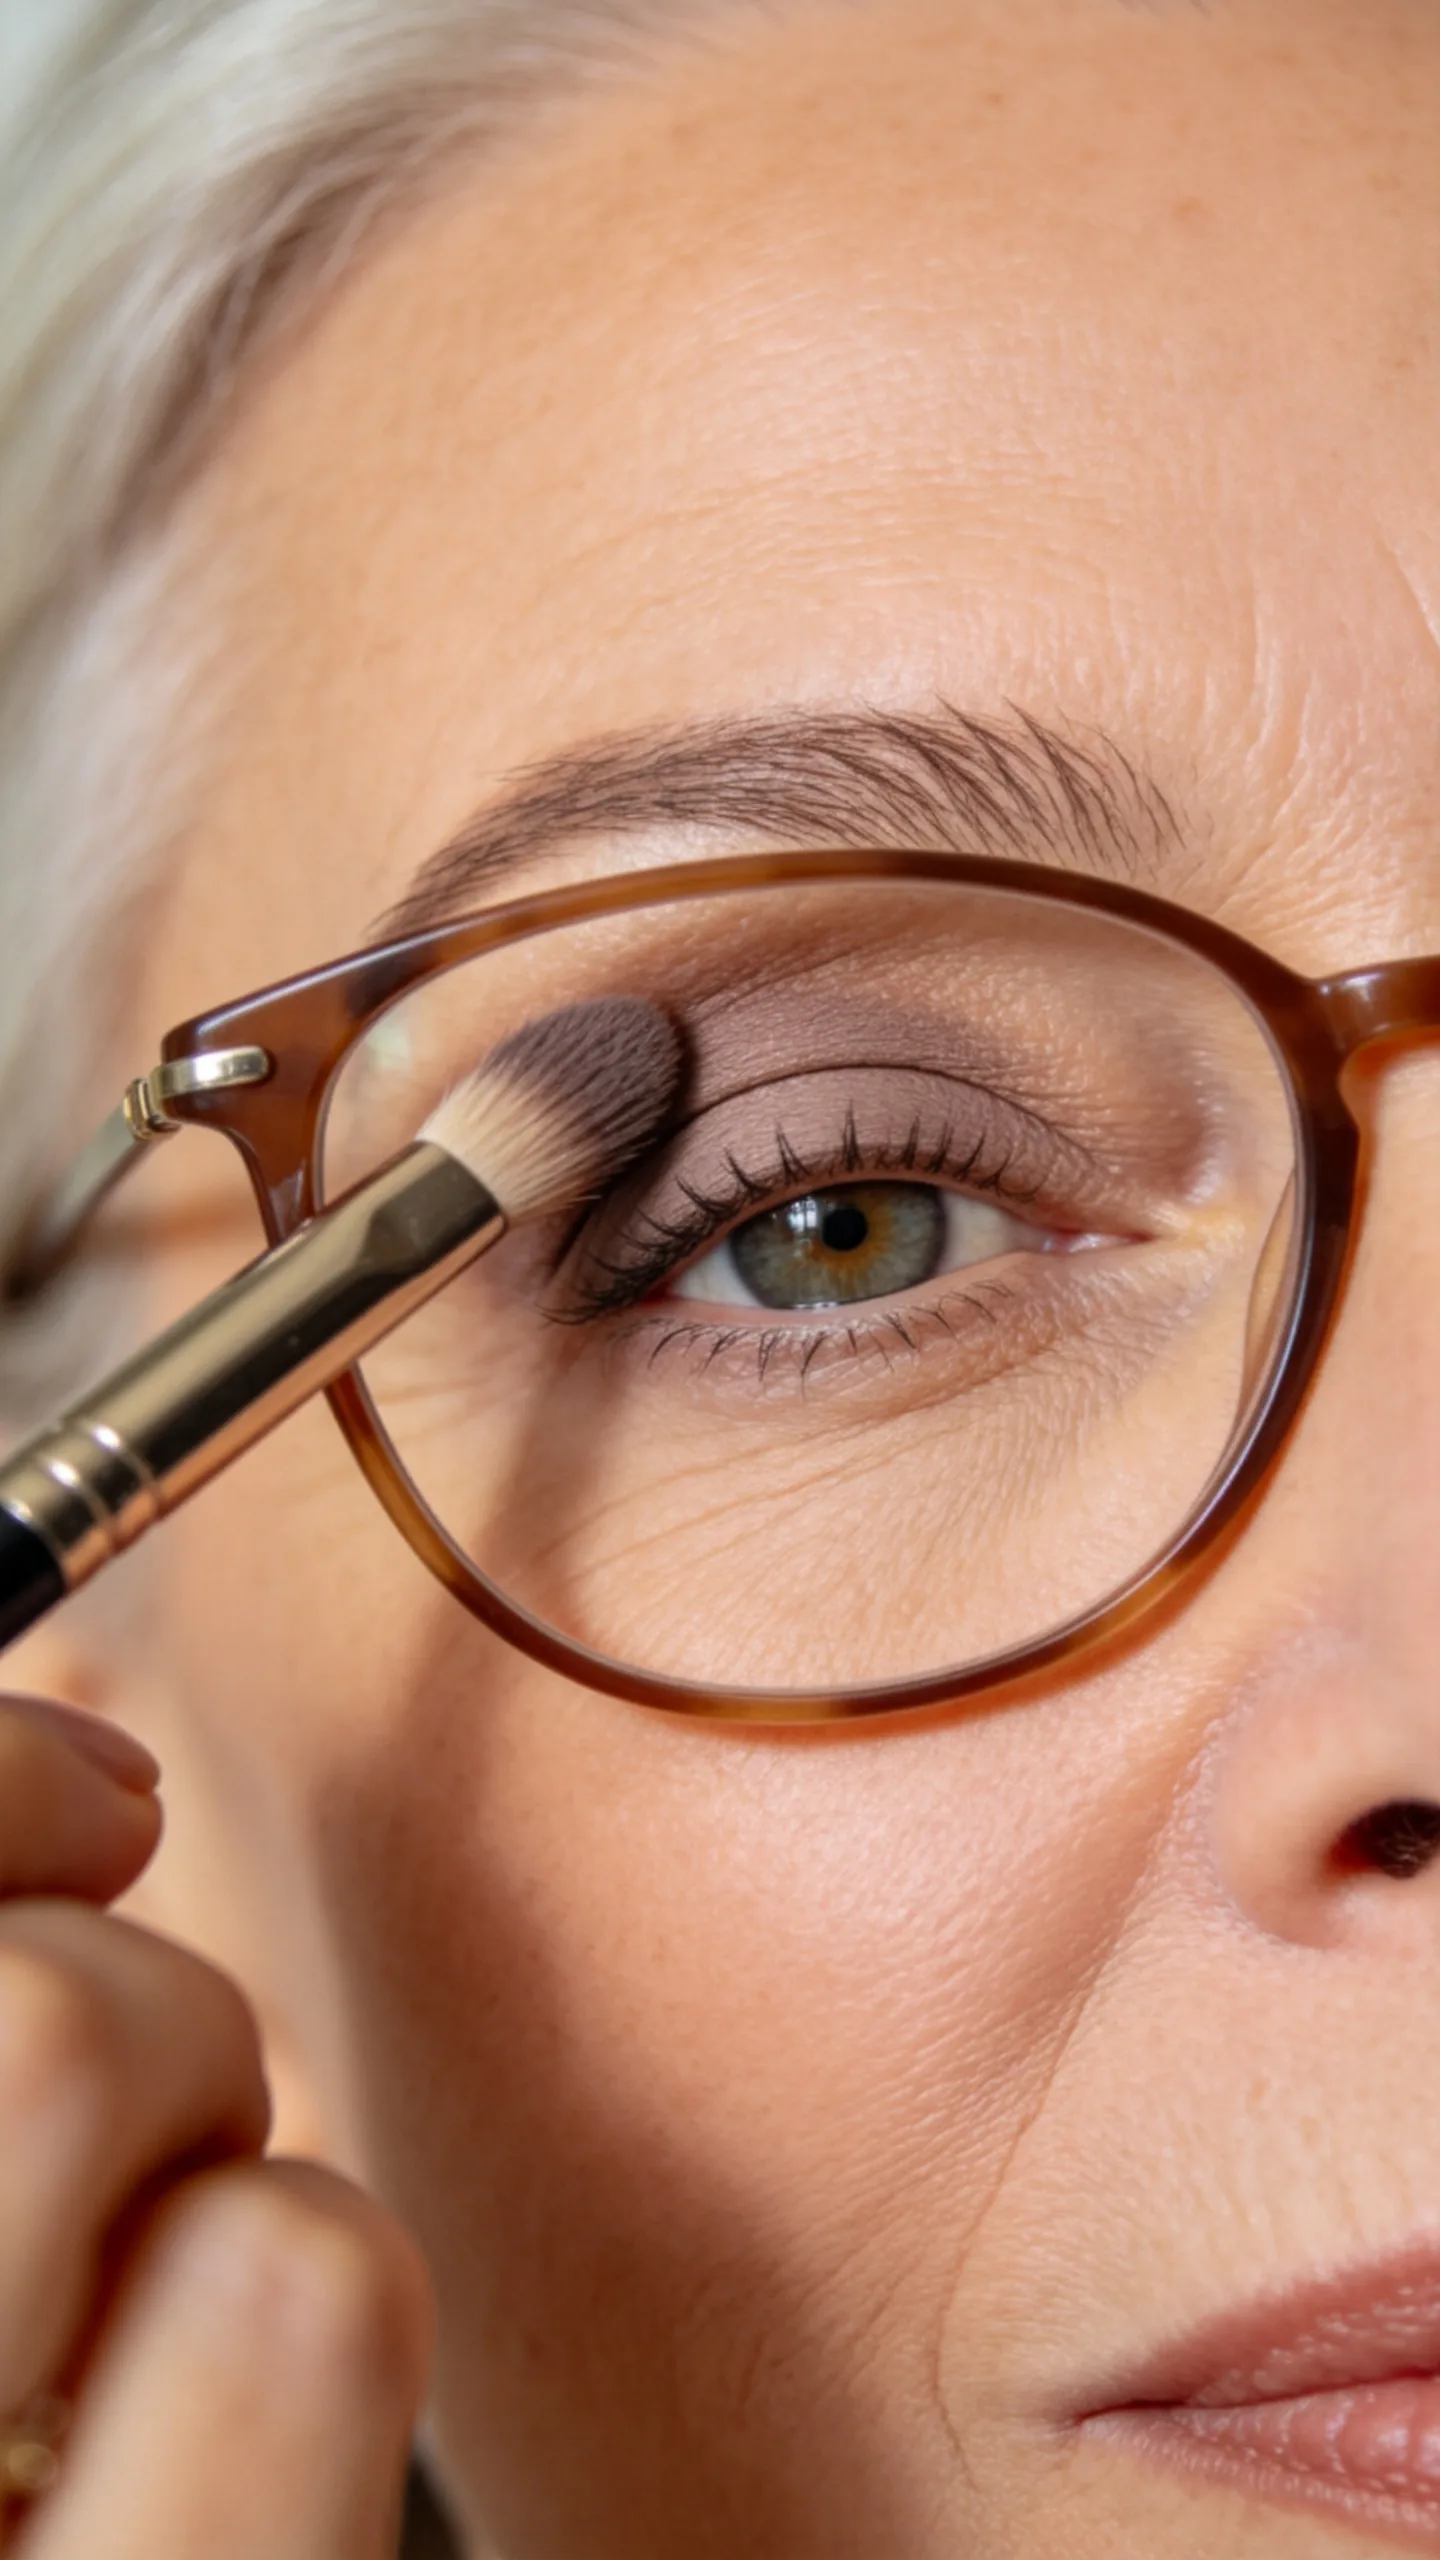
Sweep a soft matte taupe through the crease with a tapered blending brush. Keep the deepest part of the shade slightly above the natural fold if your glasses make the eyes appear smaller or your eyelids partially cover the crease.
Blend the color outward toward the temple without extending it beneath the lower edge of the frame. Taupe, soft brown, and muted mushroom shades create definition without competing with colorful or patterned glasses.
3. Brighten the Inner Corners with Satin Ivory
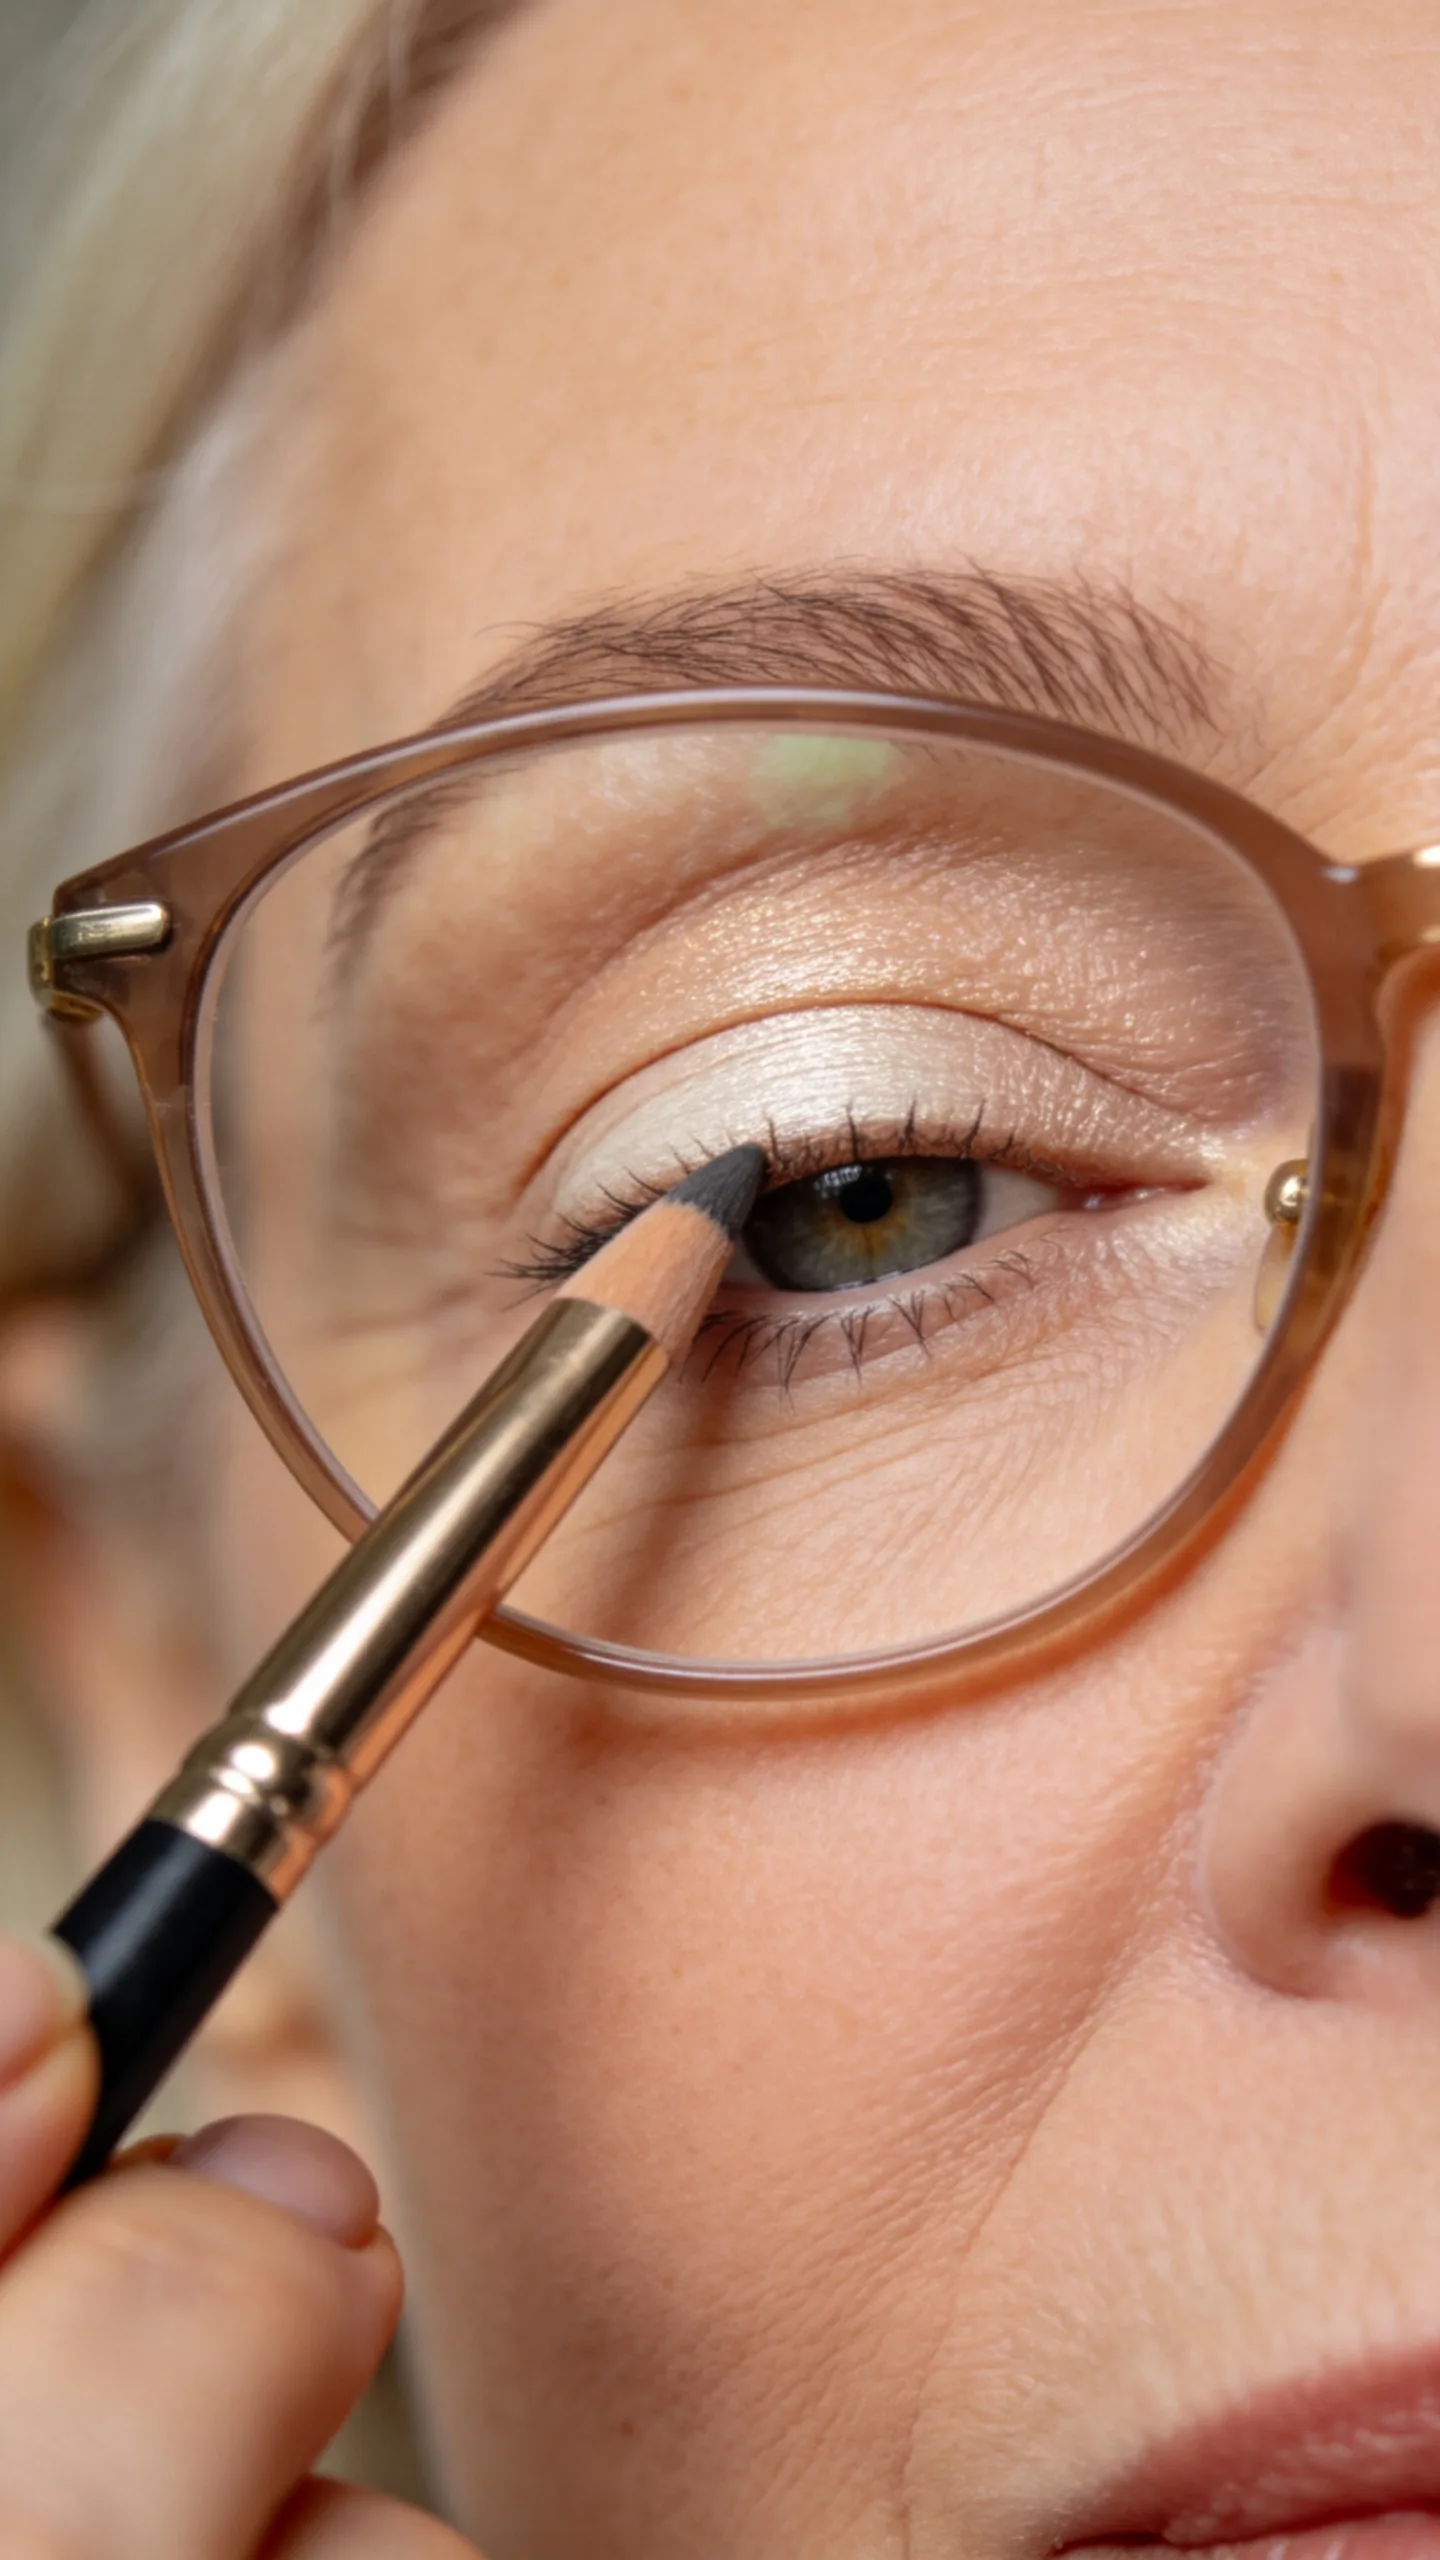
Place a small amount of satin ivory, champagne, or pale beige shadow at the inner corners. Use a pencil brush to keep the highlight concentrated rather than spreading shimmer across the entire lid.
Choose a finely milled satin finish instead of chunky glitter, which can emphasize texture and create visible fallout on the cheeks. The lighter inner corner also helps the eyes remain noticeable behind darker frames.
4. Choose a Soft Brown Pencil Liner
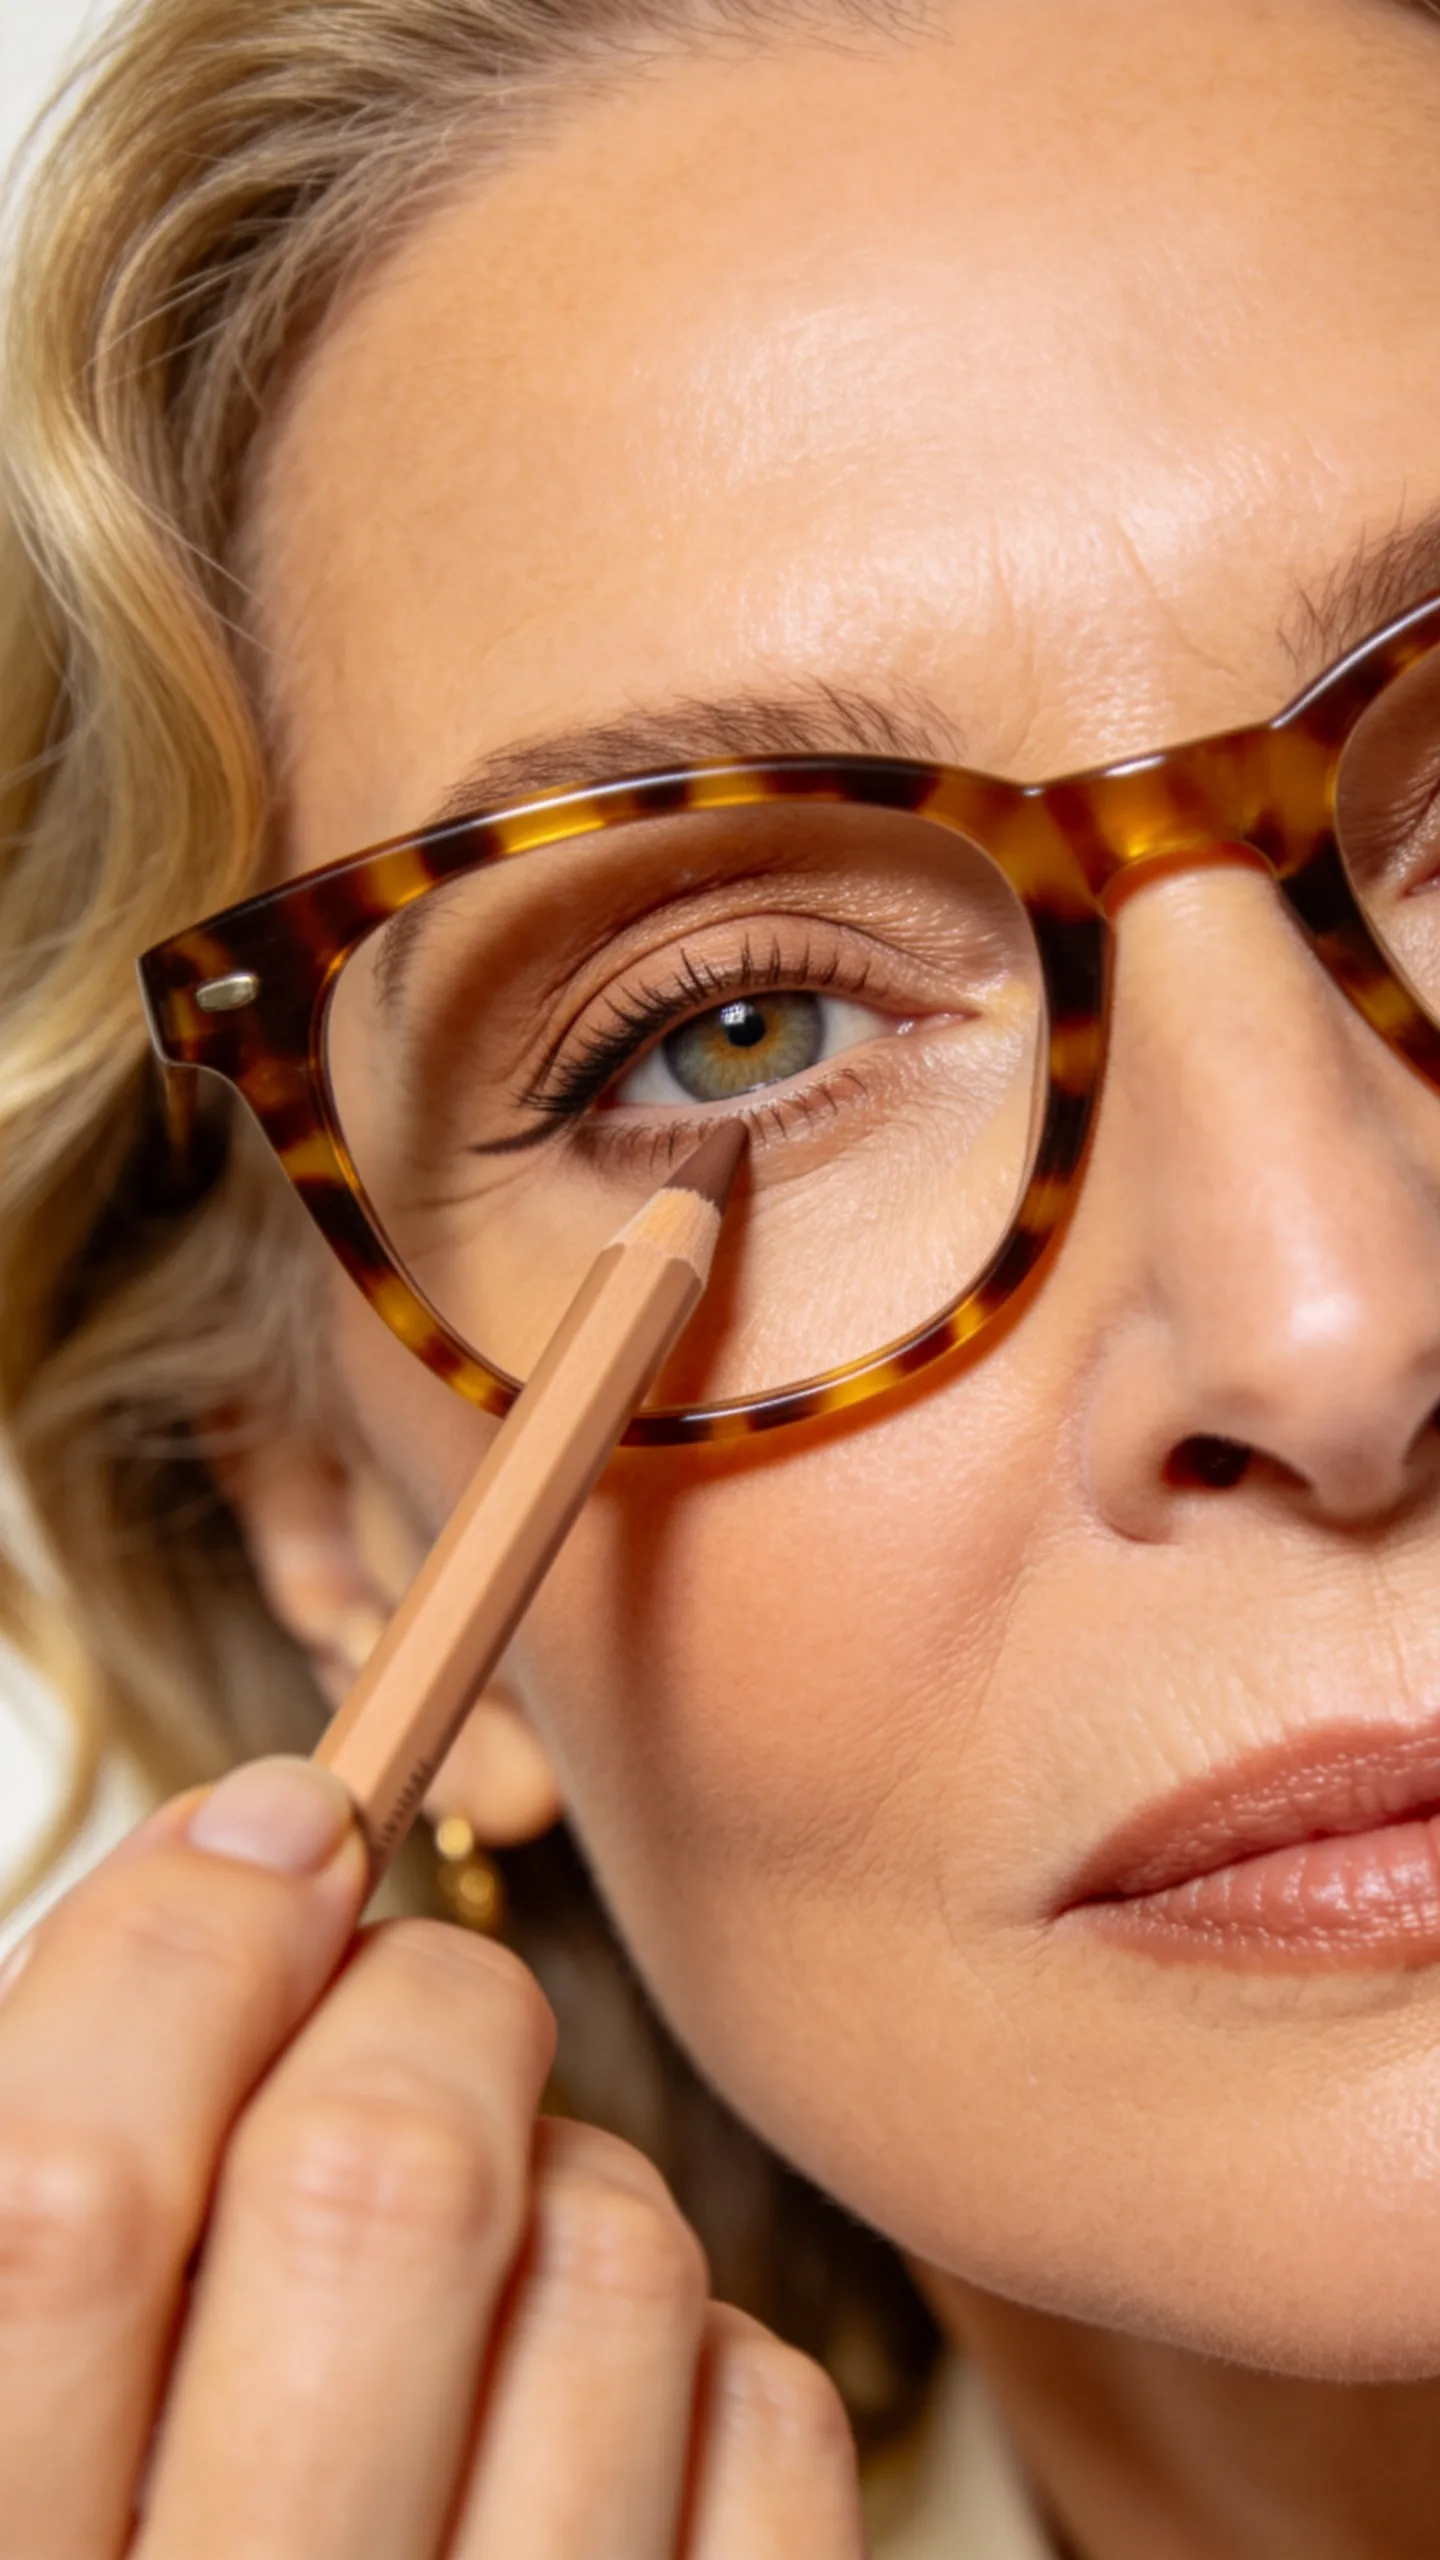
Trace the upper lash line with a soft brown pencil rather than a very harsh black line. Start at the outer corner and gradually thin the line as it approaches the inner corner.
Gently smudge the pencil with a small angled brush before it sets. Brown liner pairs well with tortoiseshell, gold, beige, and warm-colored frames, while deep charcoal works with silver, black, or cool-toned frames.
5. Tightline the Upper Lash Line
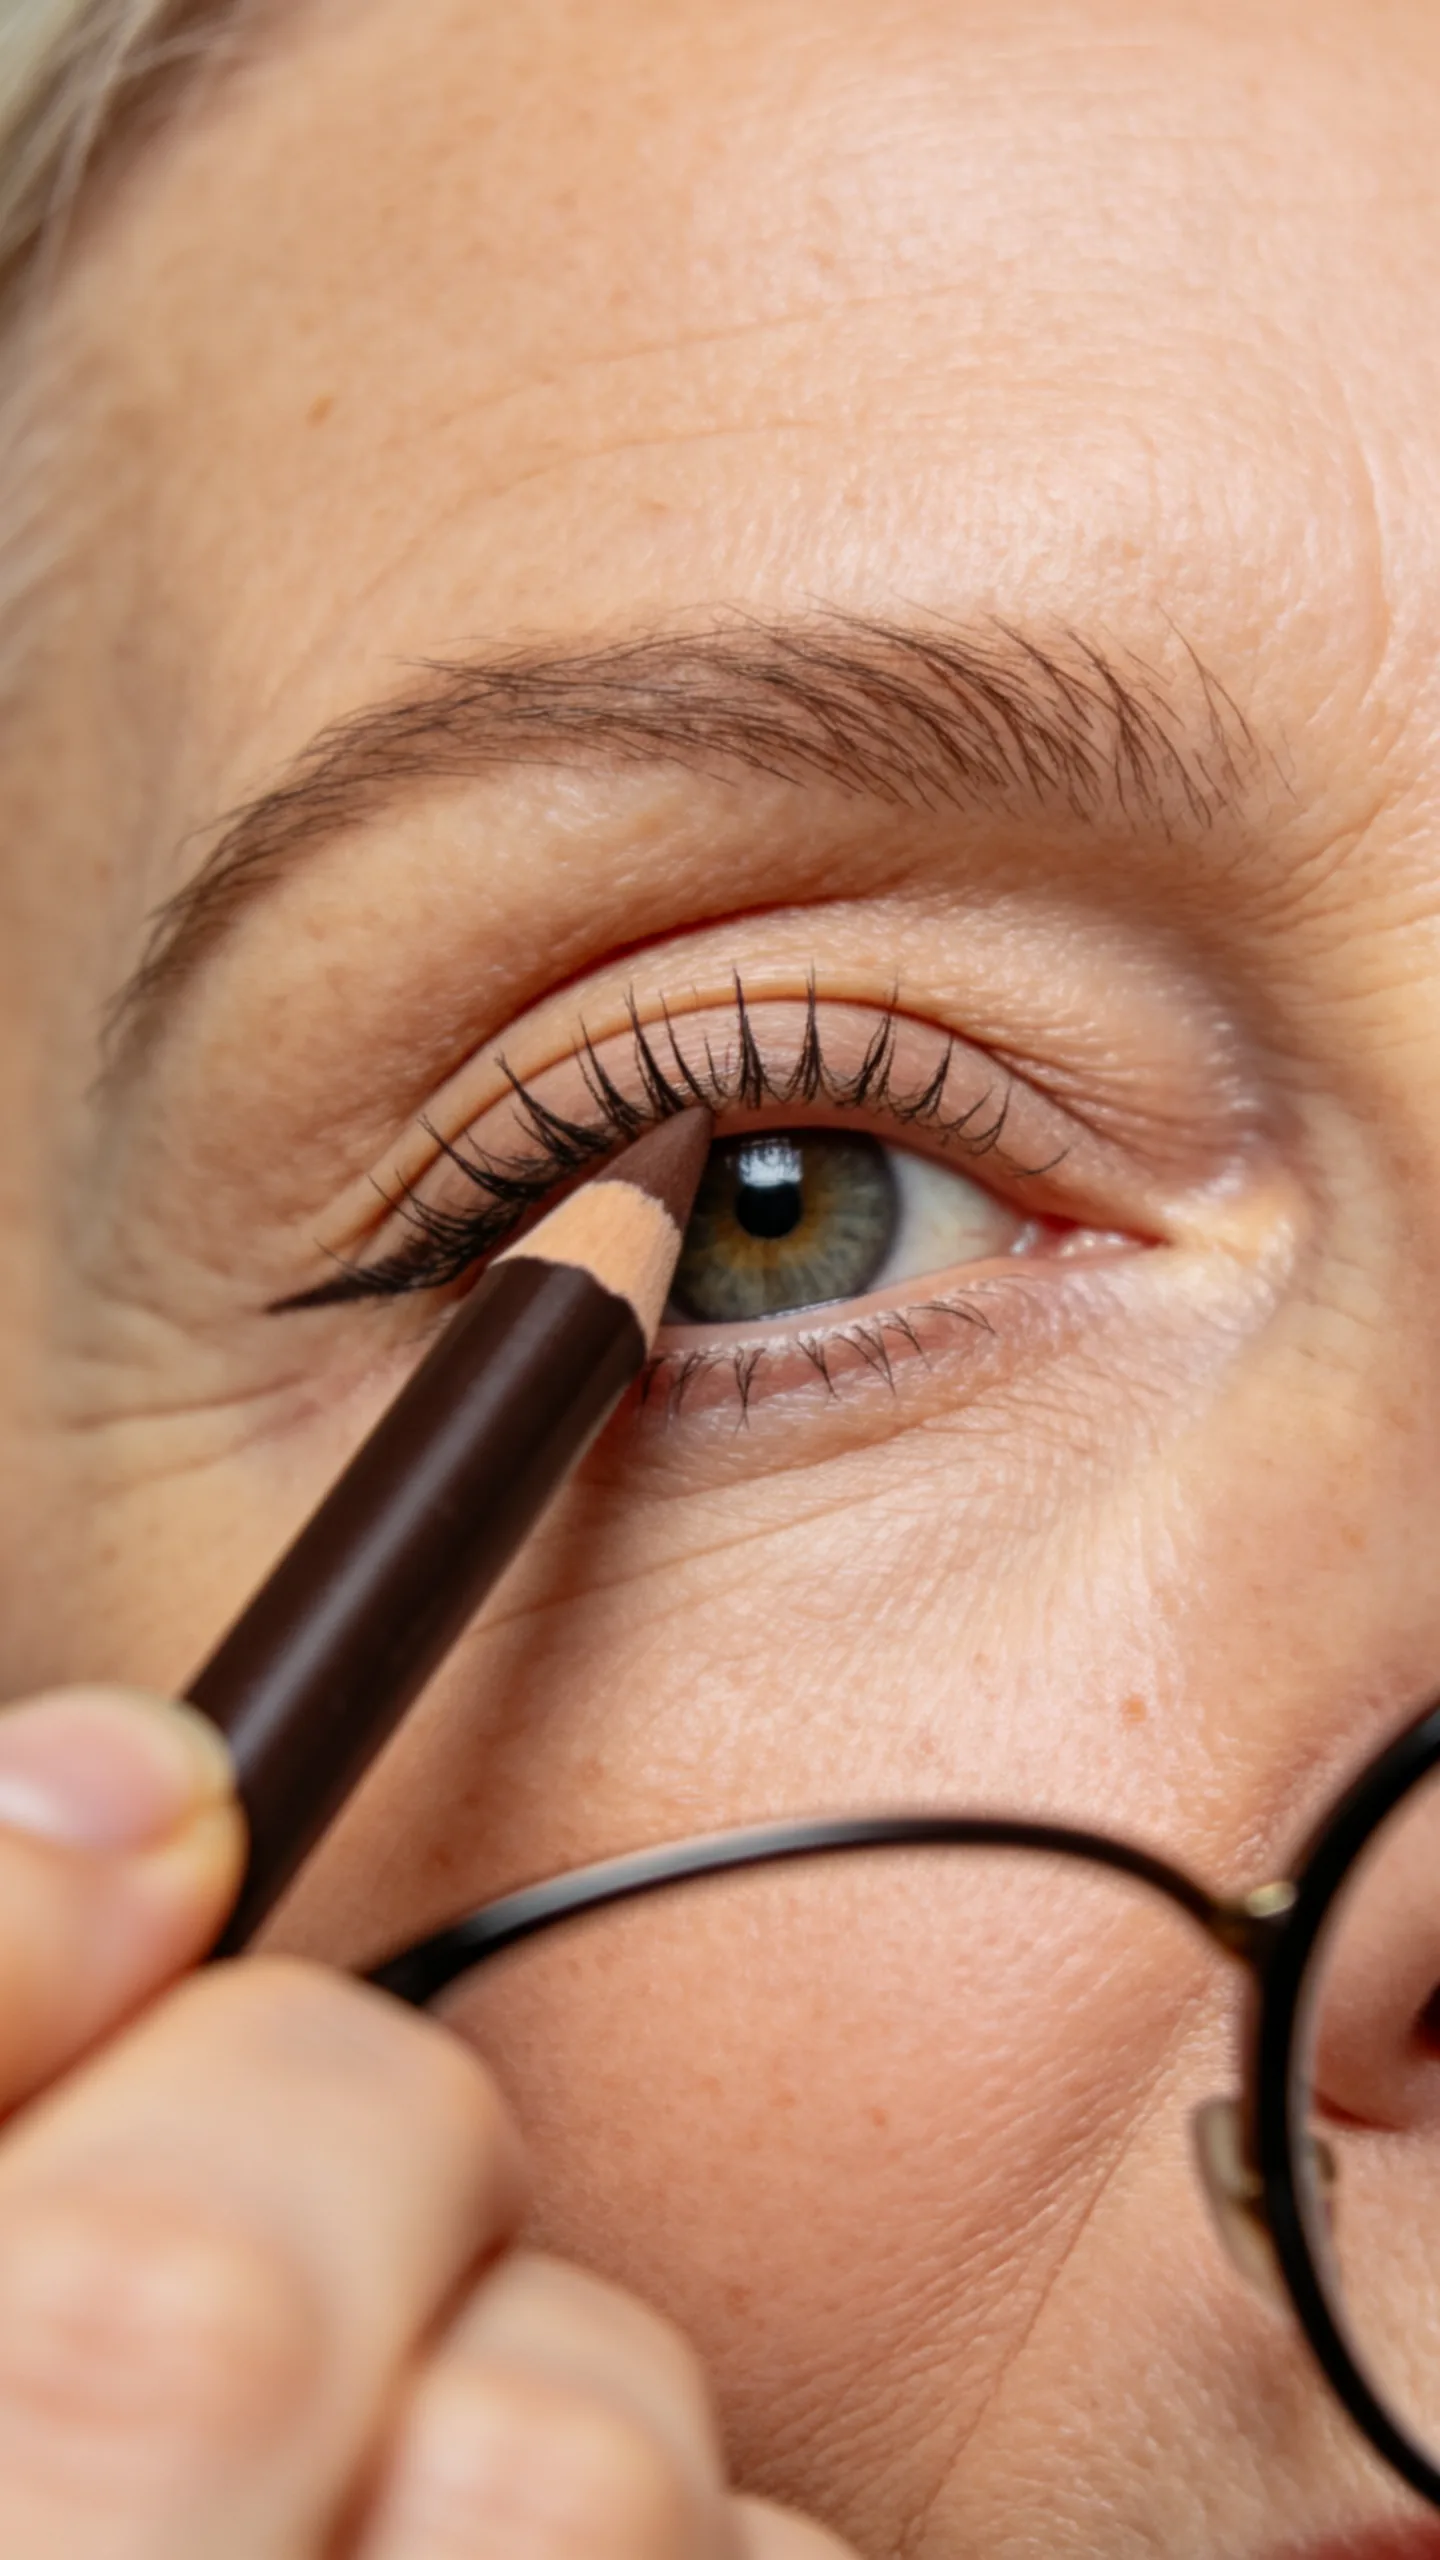
Press a waterproof brown, charcoal, or black pencil between the upper lashes to make the lash line look fuller. Keep the product on the upper waterline and avoid dragging it across the entire lower waterline.
This technique adds definition without creating a thick stripe that may visually close the eyes. Work in short sections and stop if your eyes feel irritated or watery.
6. Curl Lashes Before Applying Mascara
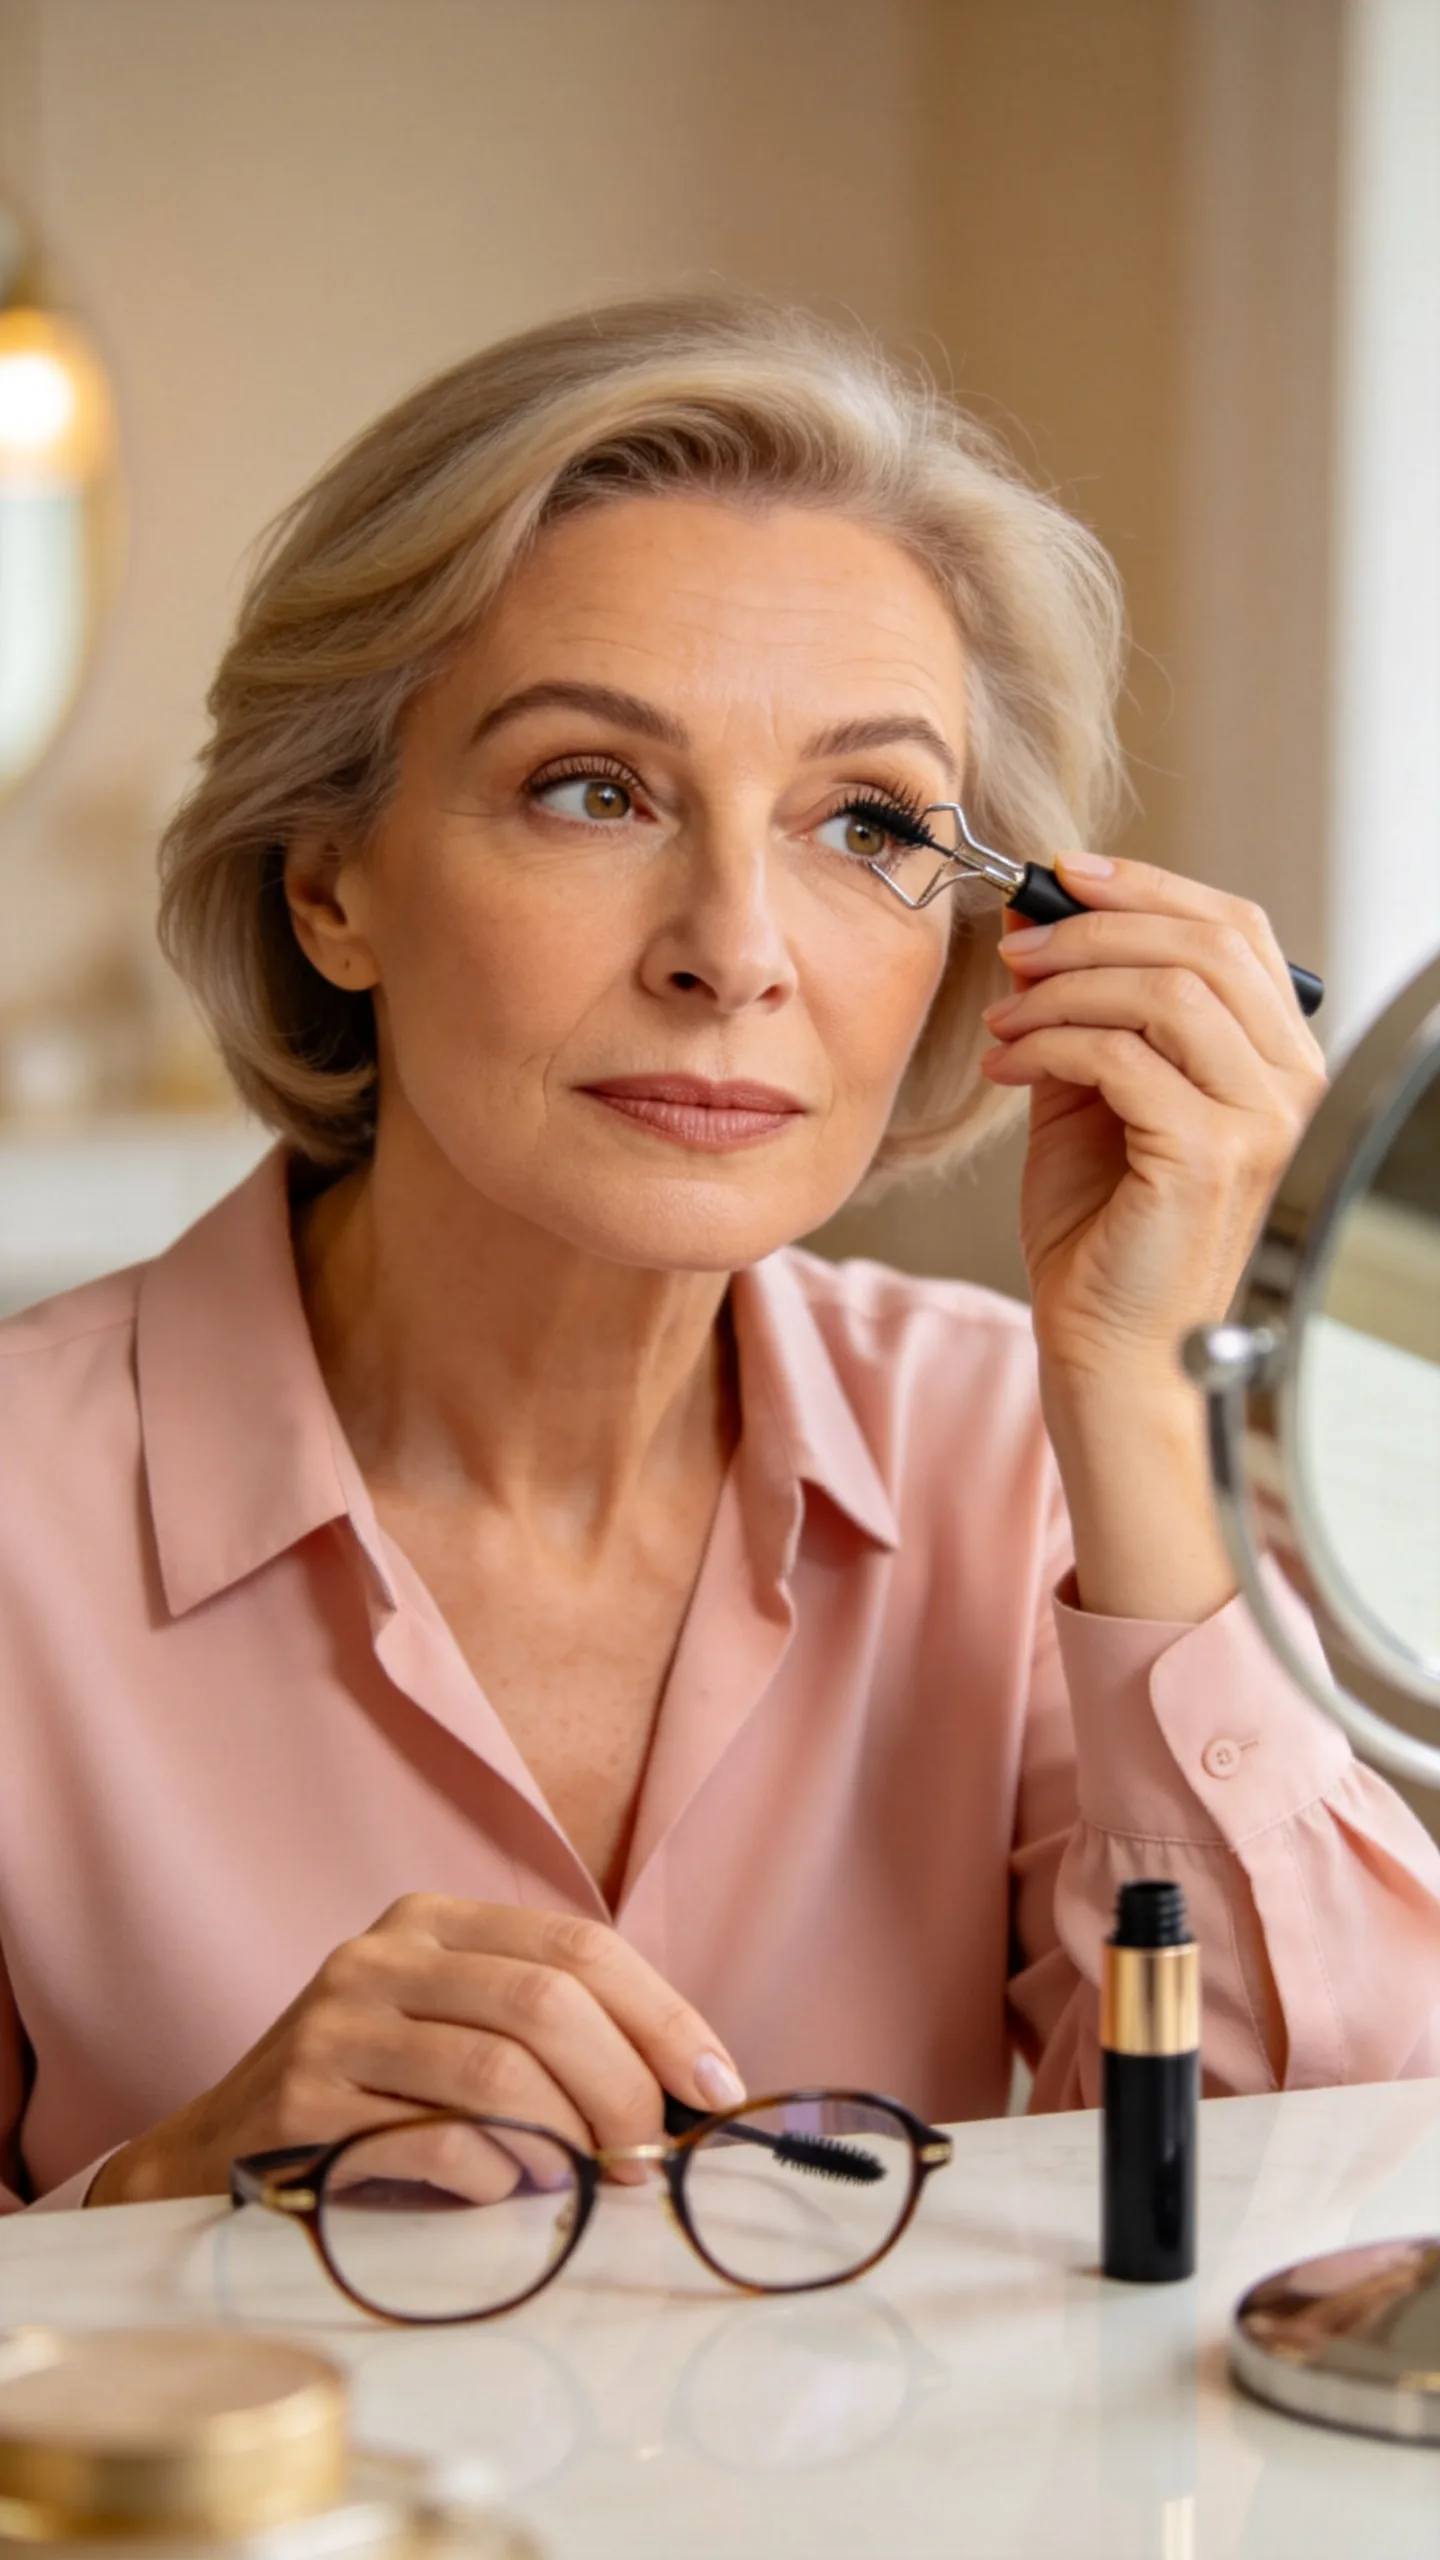
Use an eyelash curler before mascara, positioning it at the base of the lashes and squeezing gently for several seconds. A second light squeeze near the middle of the lashes creates a curved shape rather than a sharp bend.
Check that the lashes do not touch the lenses when you blink. If they do, choose a shorter, lifted application of mascara and avoid heavily coating the lash tips.
7. Pick Tubing Mascara for Less Smudging
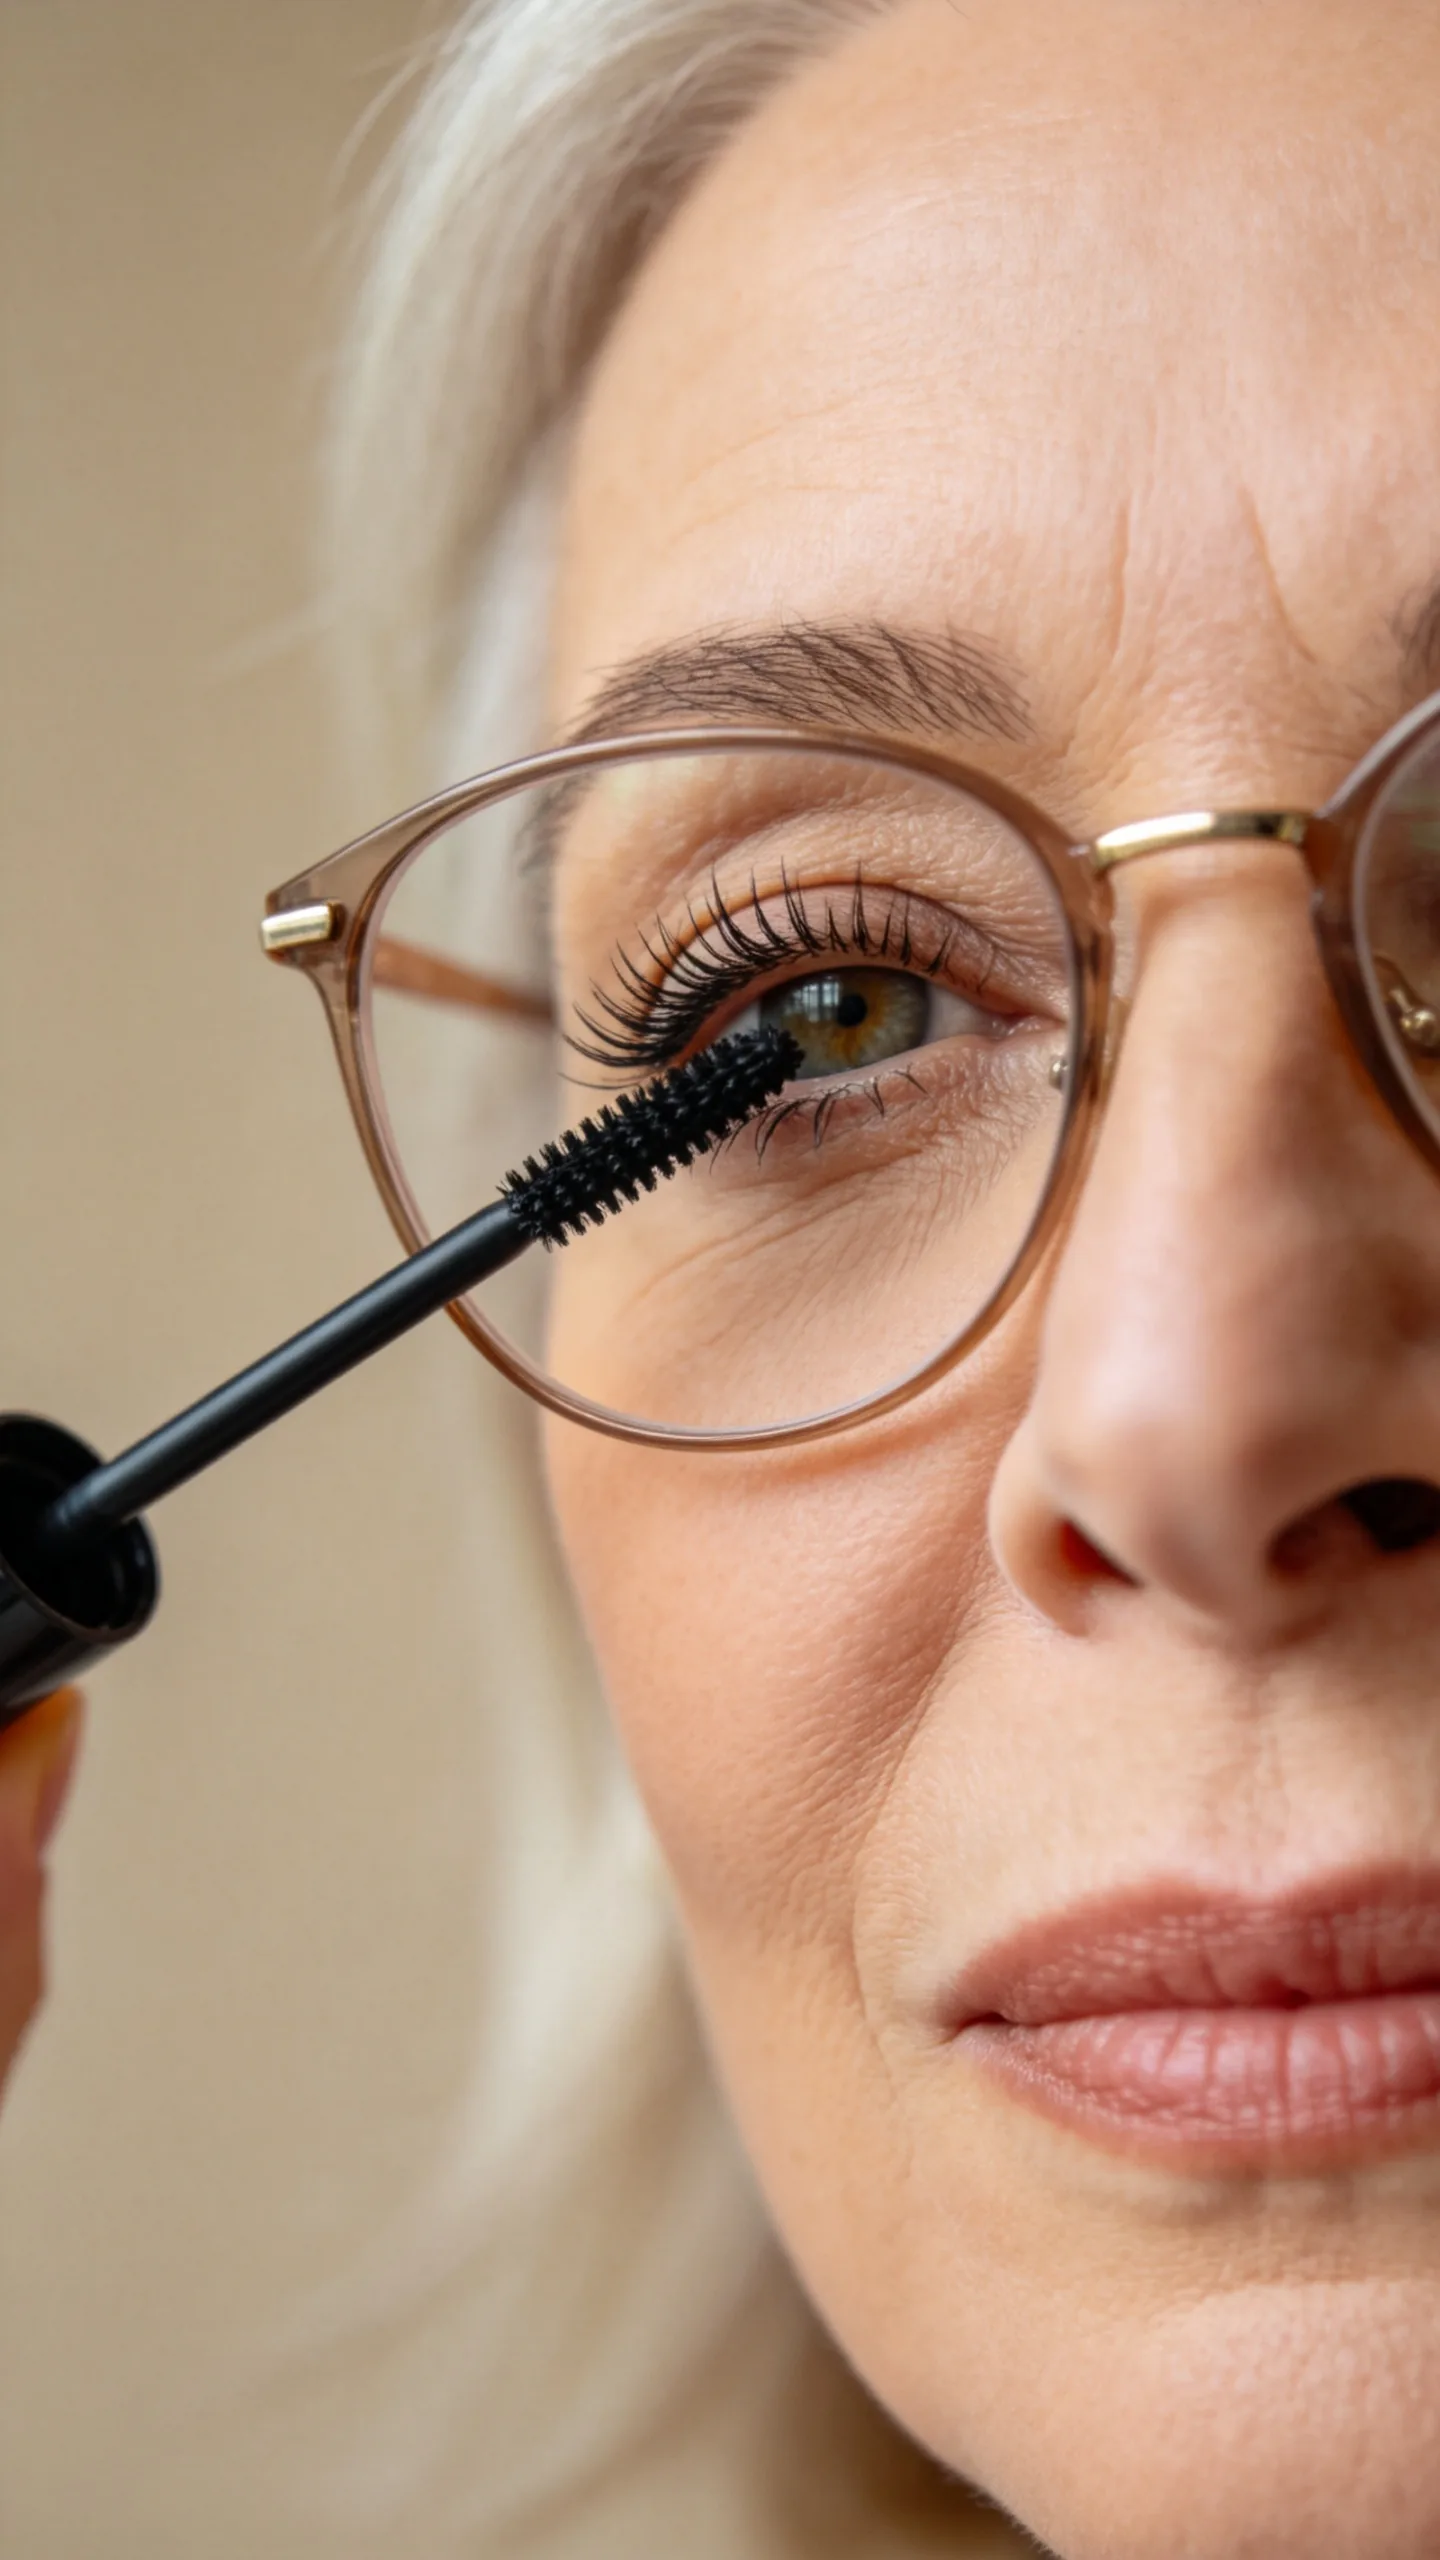
Apply a tubing mascara in one or two thin coats to the upper lashes. These formulas form lightweight coatings around the lashes and can be useful when traditional mascara transfers beneath the eyes or onto glasses.
Comb through the lashes while the mascara is still workable to separate clumps. Keep the lower lashes lightly coated or leave them bare if mascara tends to print onto the skin below the frames.
8. Match Shadow Contrast to Your Frames
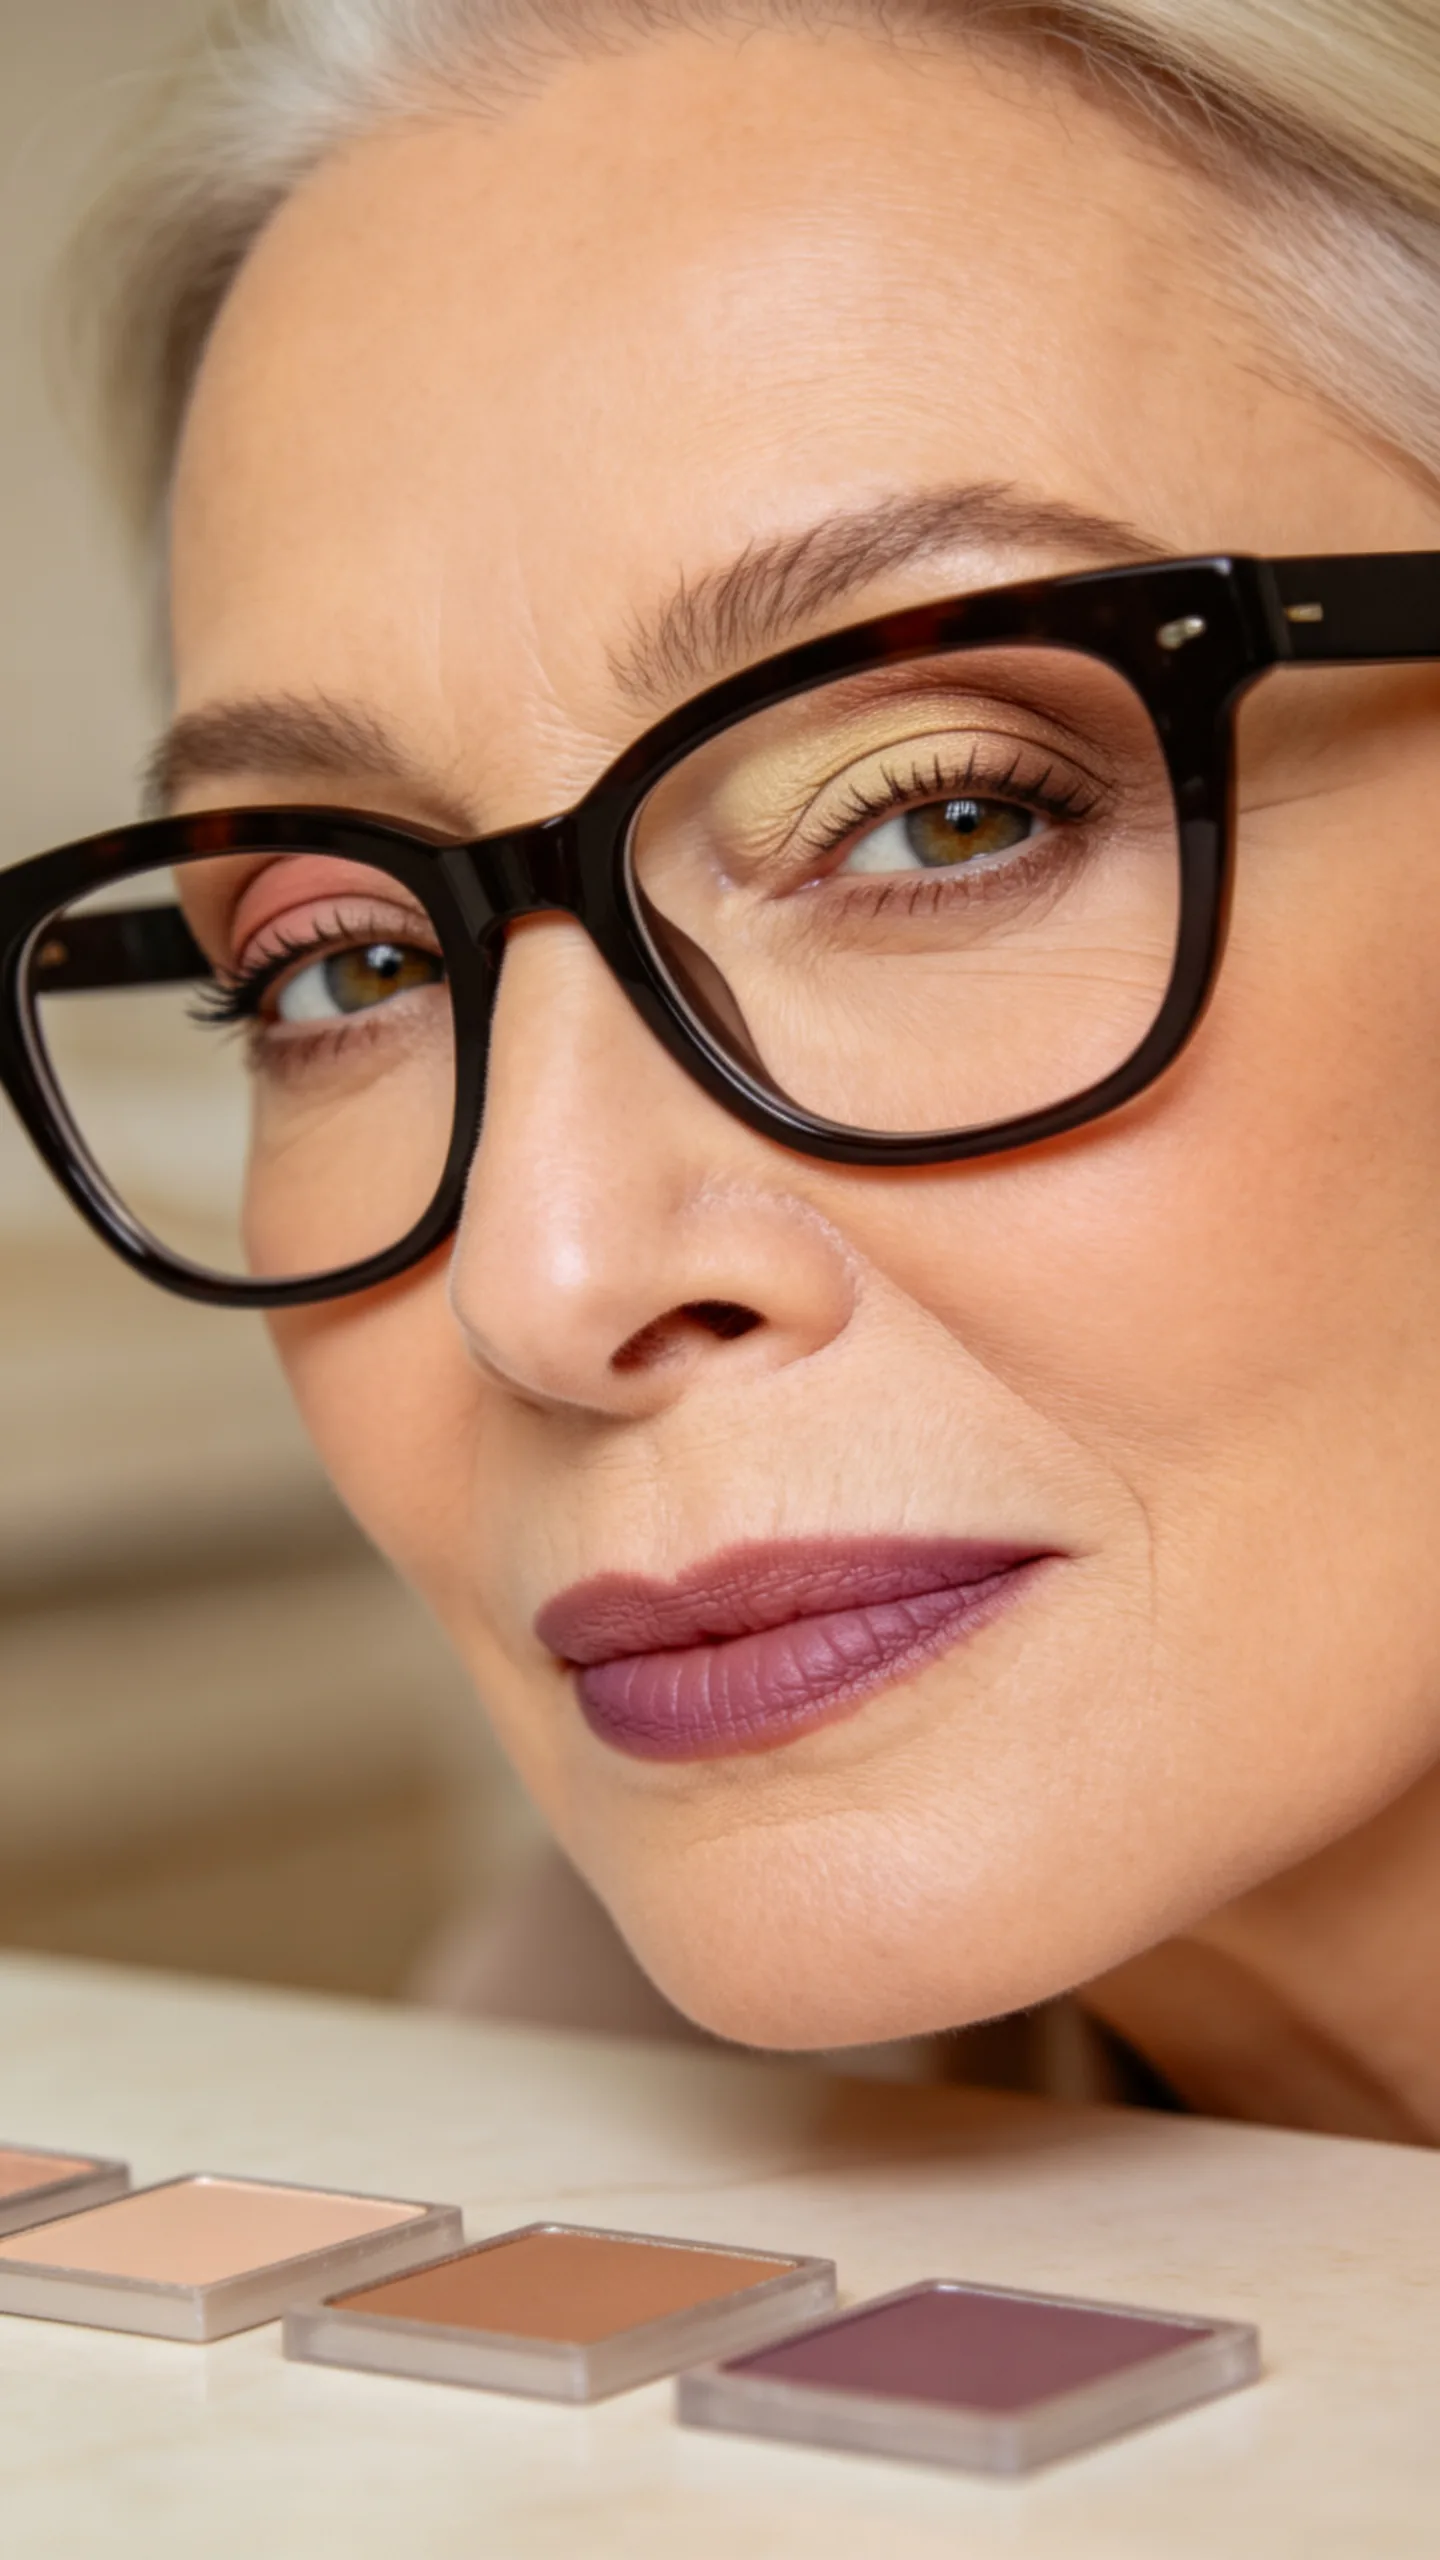
Use medium-toned eye shadow when your frames are very light or rimless, giving the eyes enough definition to remain visible. With bold black or dark frames, try beige, soft rose, bronze, or muted plum so the makeup does not look overly heavy.
Keep one feature stronger at a time. If the frames have bright color or a thick pattern, use a neutral lid and add color only along the outer corner or lower lash line.
9. Create a Soft Lift at the Outer Corners
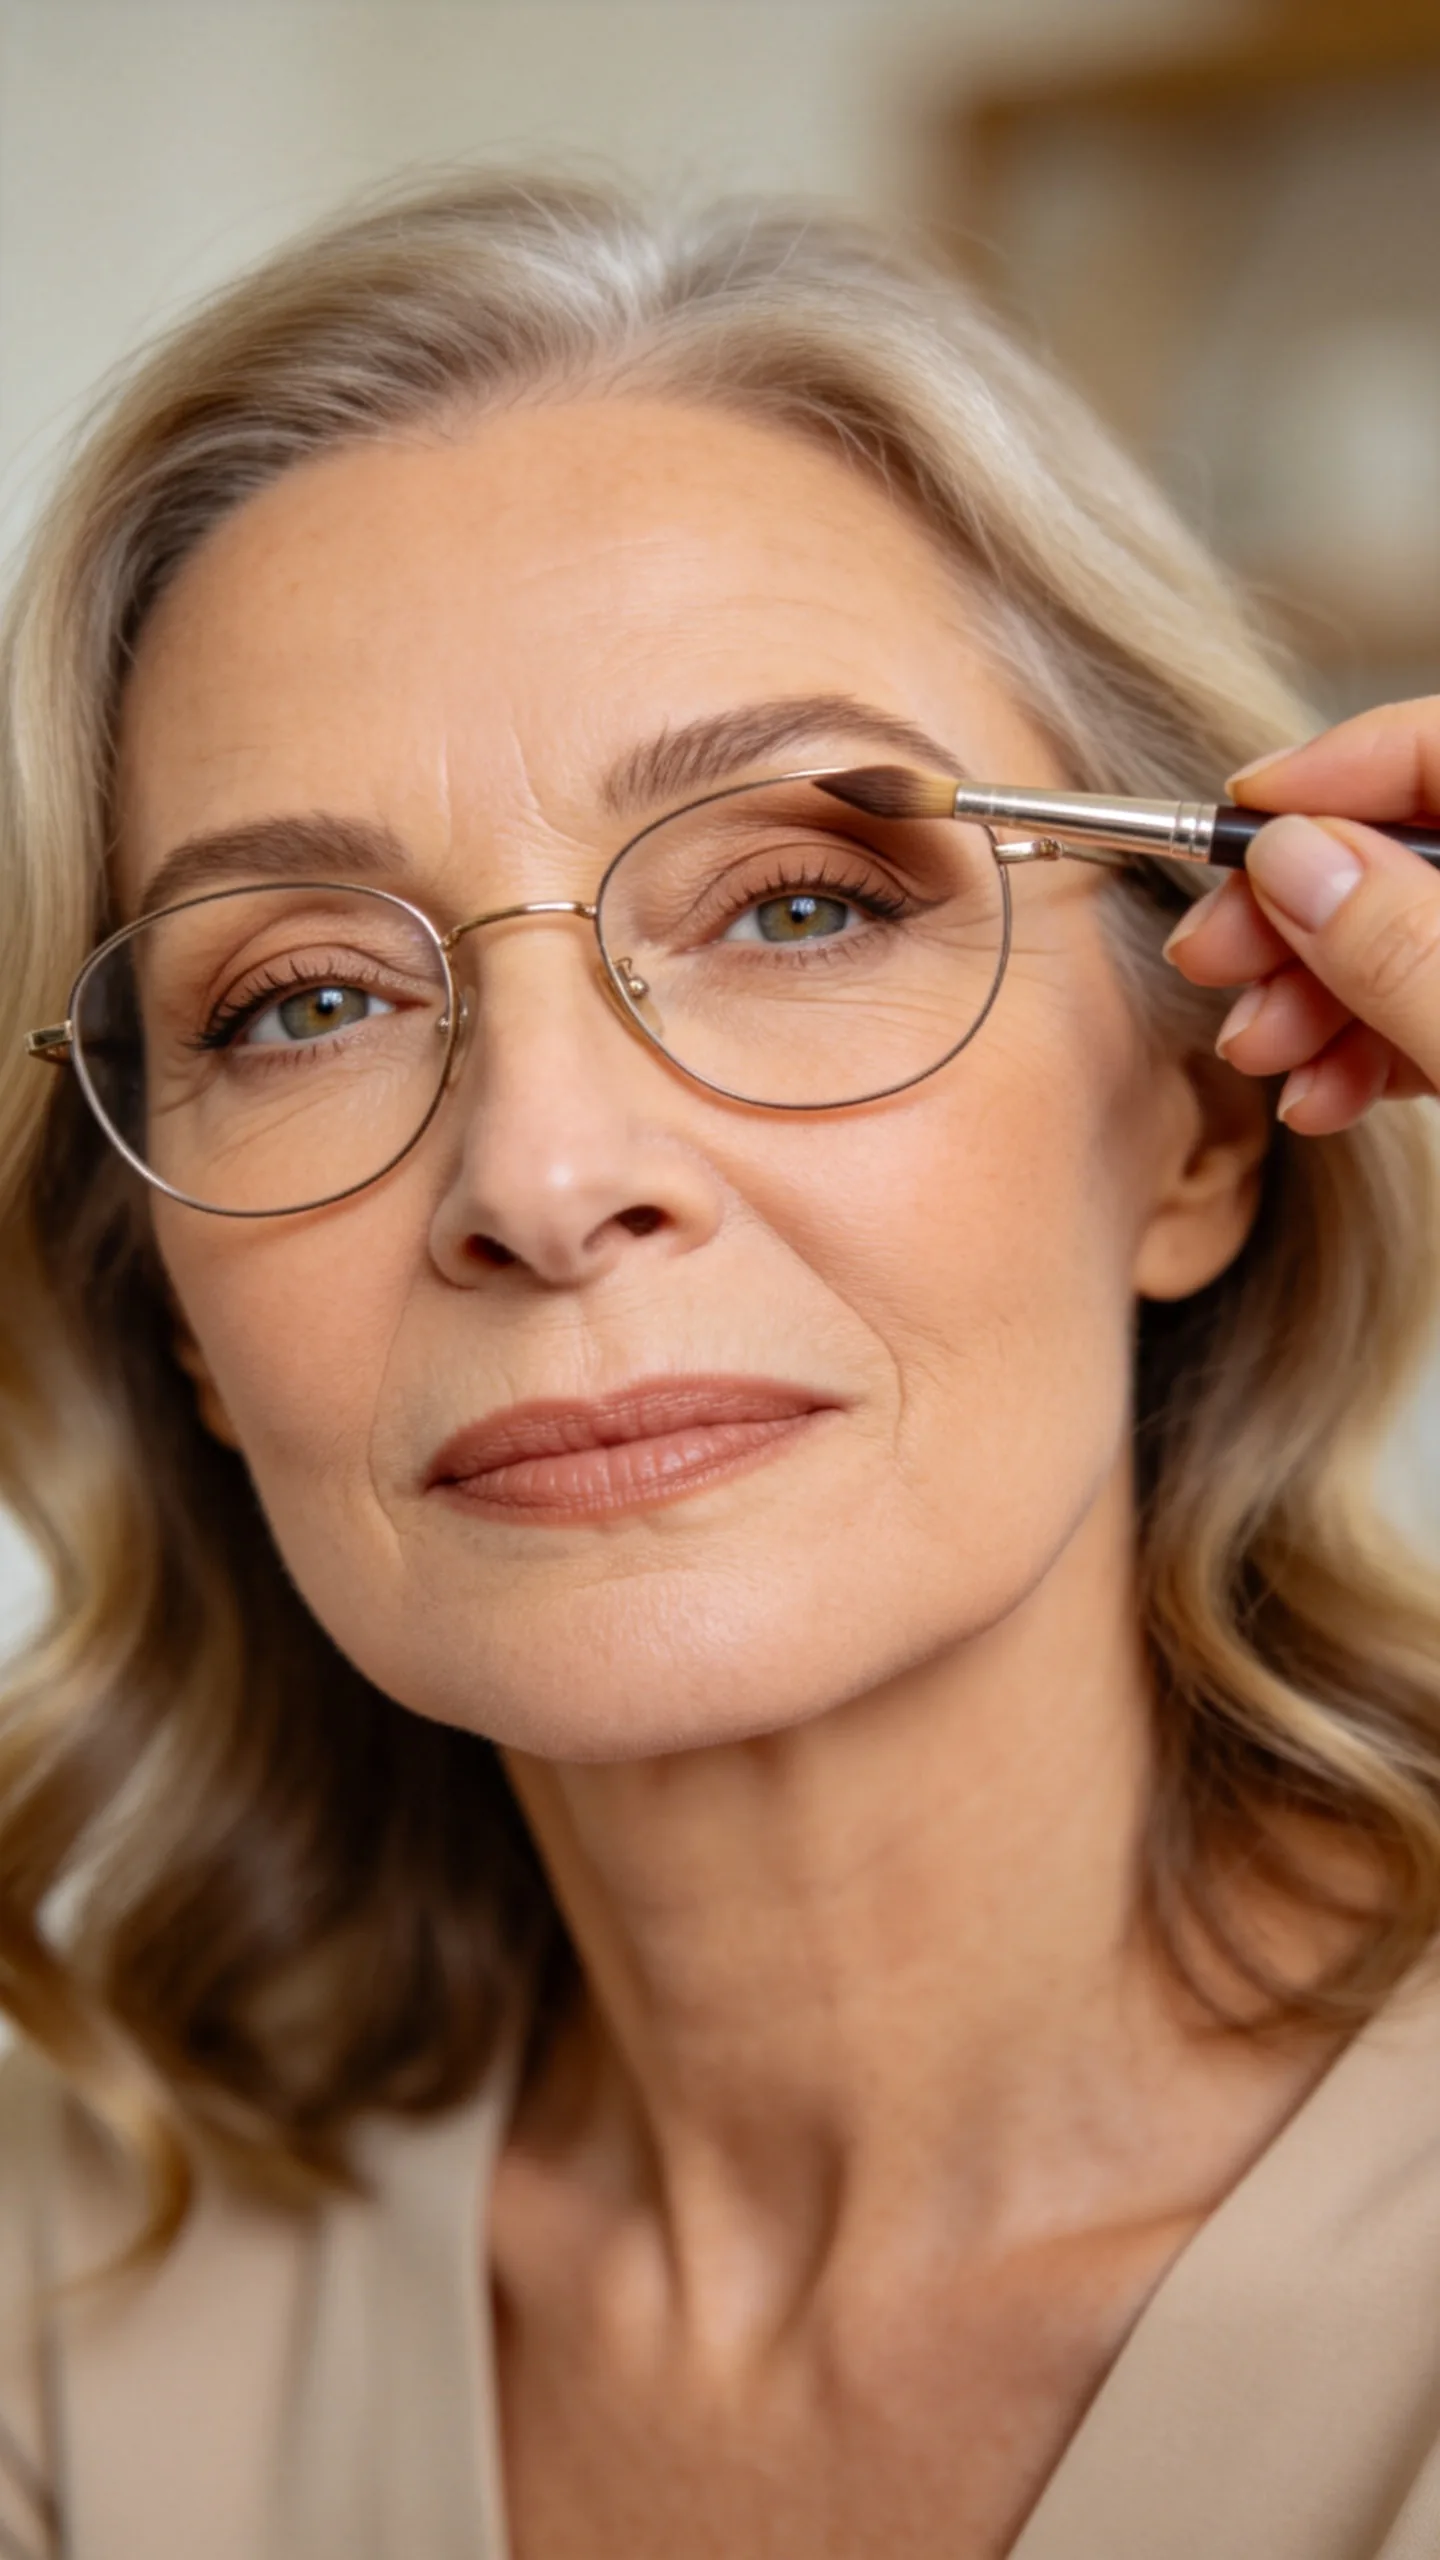
Apply a medium matte brown or muted plum shade to the outer third of the upper lid. Blend the color slightly upward toward the end of the eyebrow rather than pulling it straight outward.
Keep the lifted shape within the visible area above the frame. A small pointed blending brush gives more control and prevents shadow from collecting in the outer crease.
10. Define the Lower Lash Line with a Short Shadow Sweep
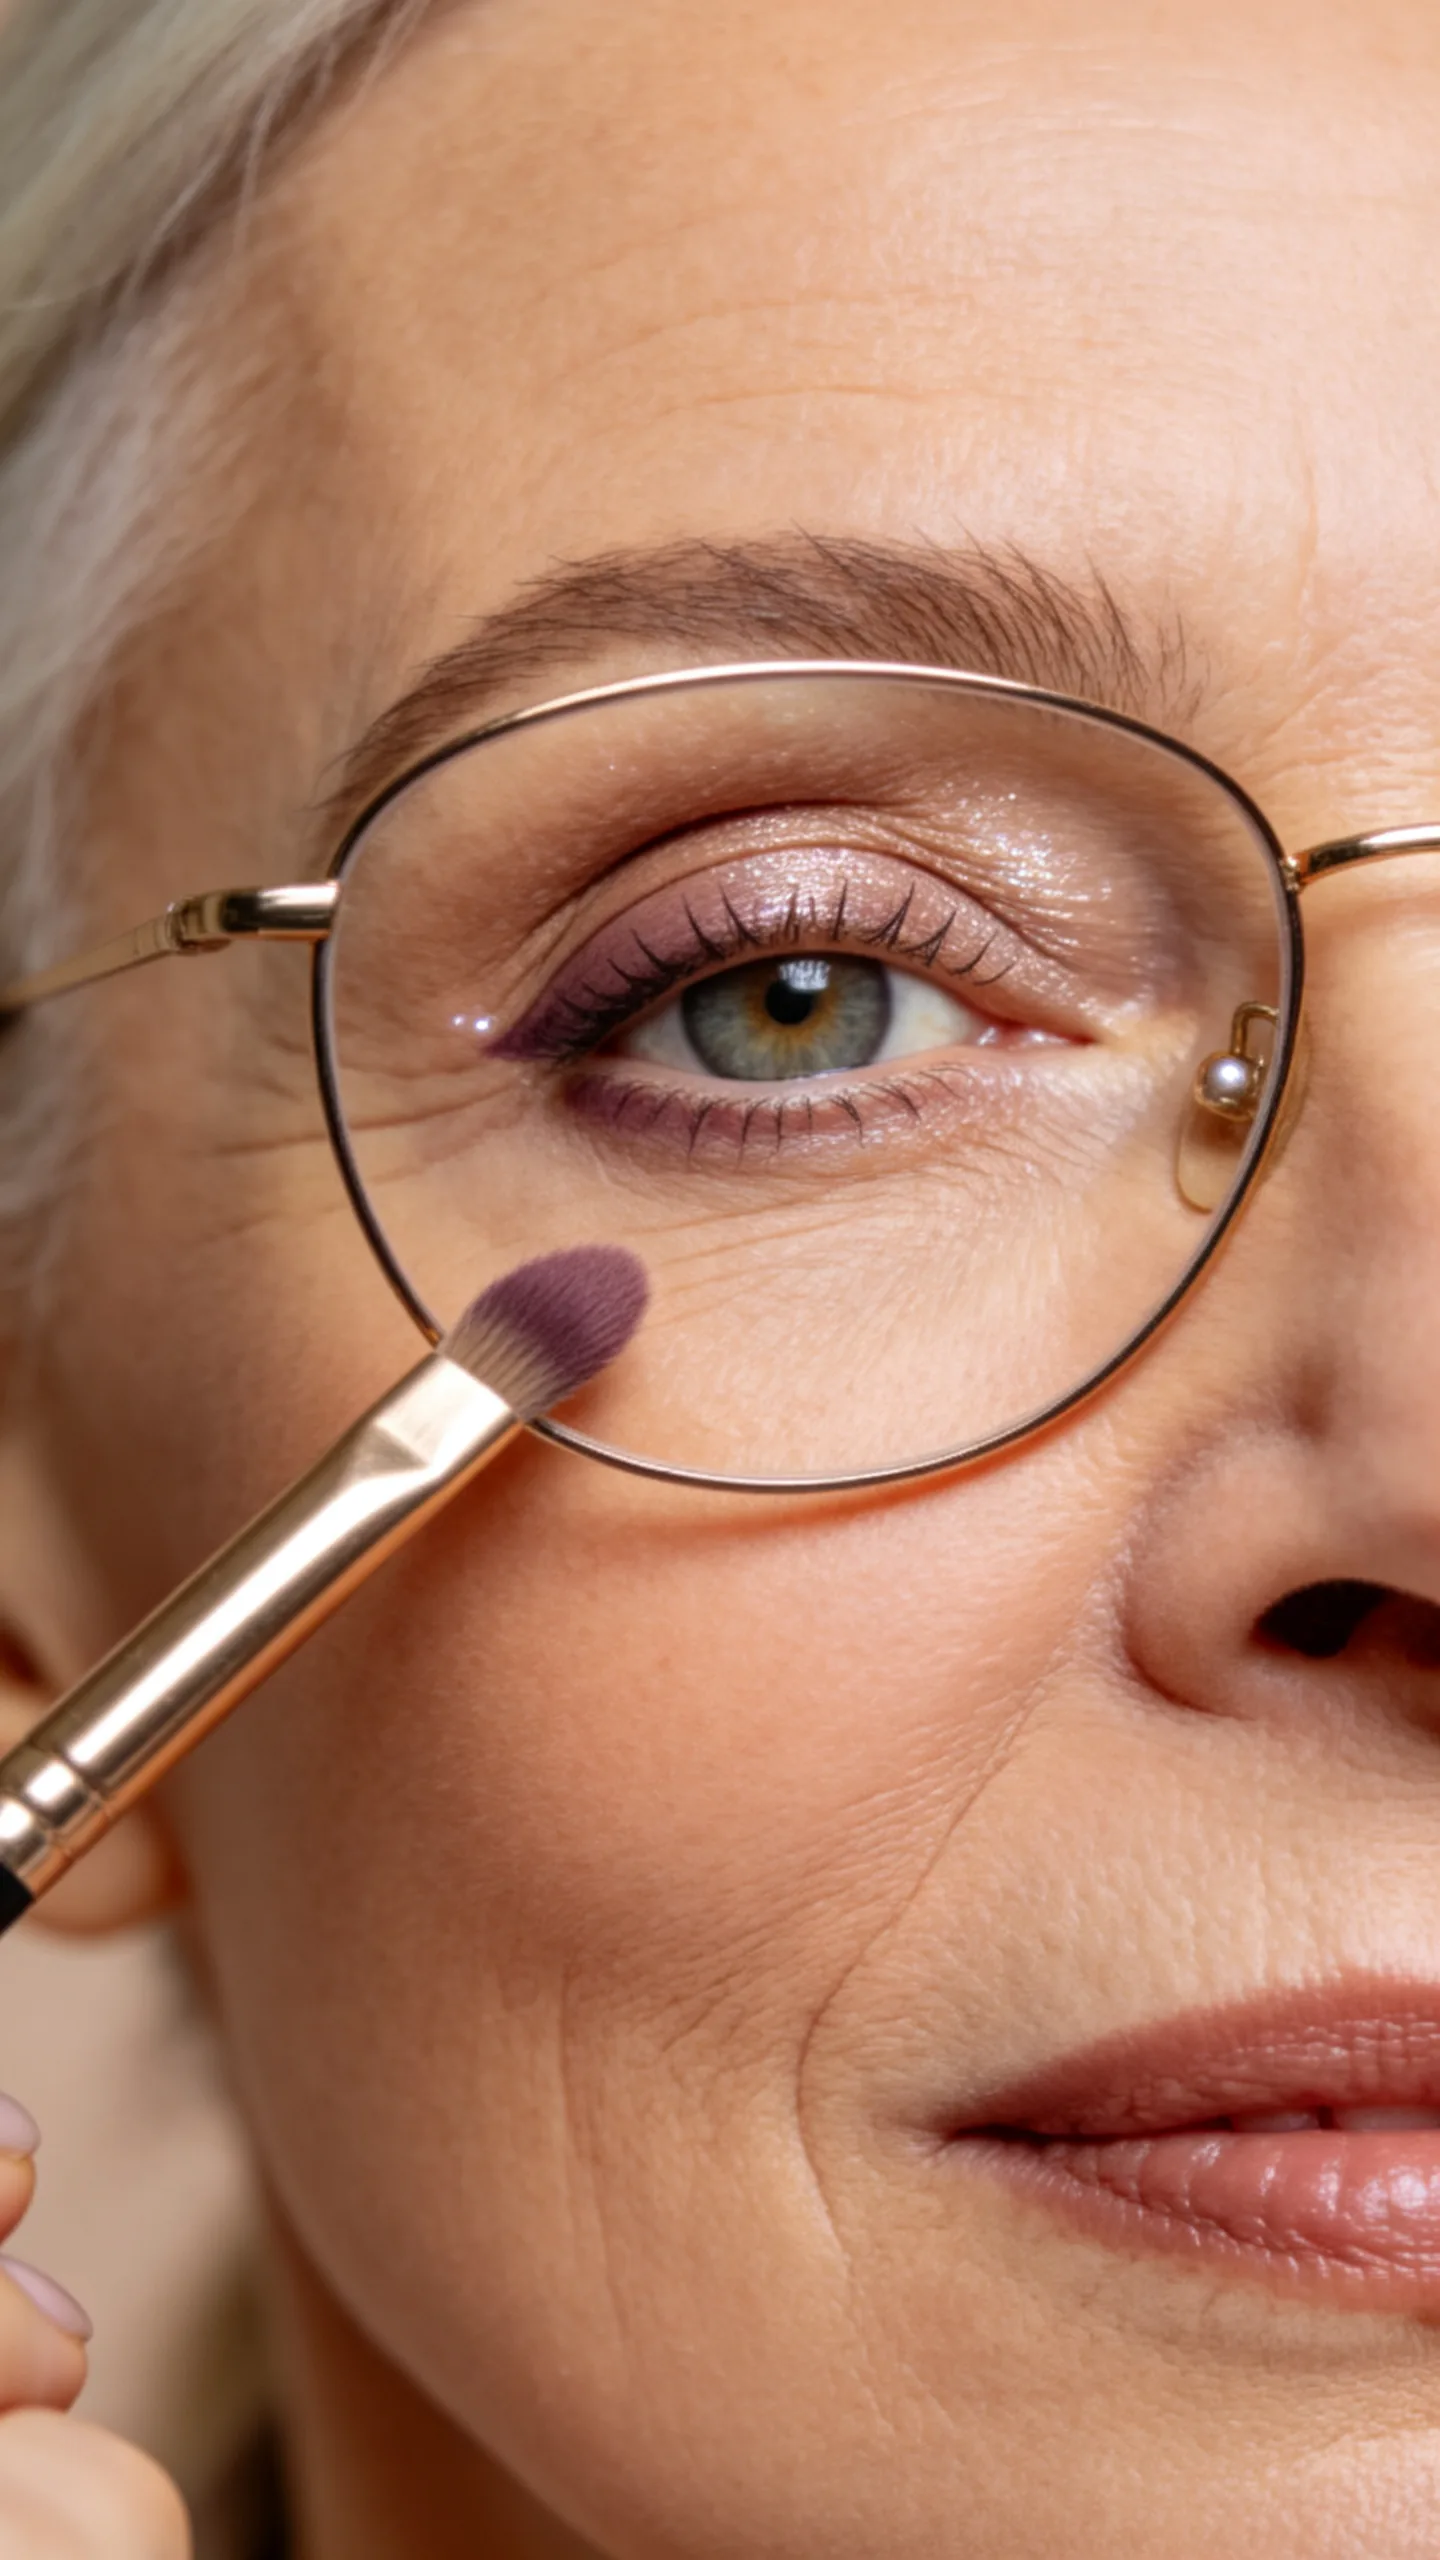
Use a small smudge brush to place taupe, cocoa, or soft plum shadow along the outer half of the lower lash line. Connect it lightly to the upper outer-corner color for a balanced shape.
Avoid taking dark shadow all the way to the inner corner if it makes the eyes look smaller. A pale matte beige pencil or clean satin shadow near the inner lower lash line can keep the area looking open.
11. Set Concealer with a Minimal Amount of Powder
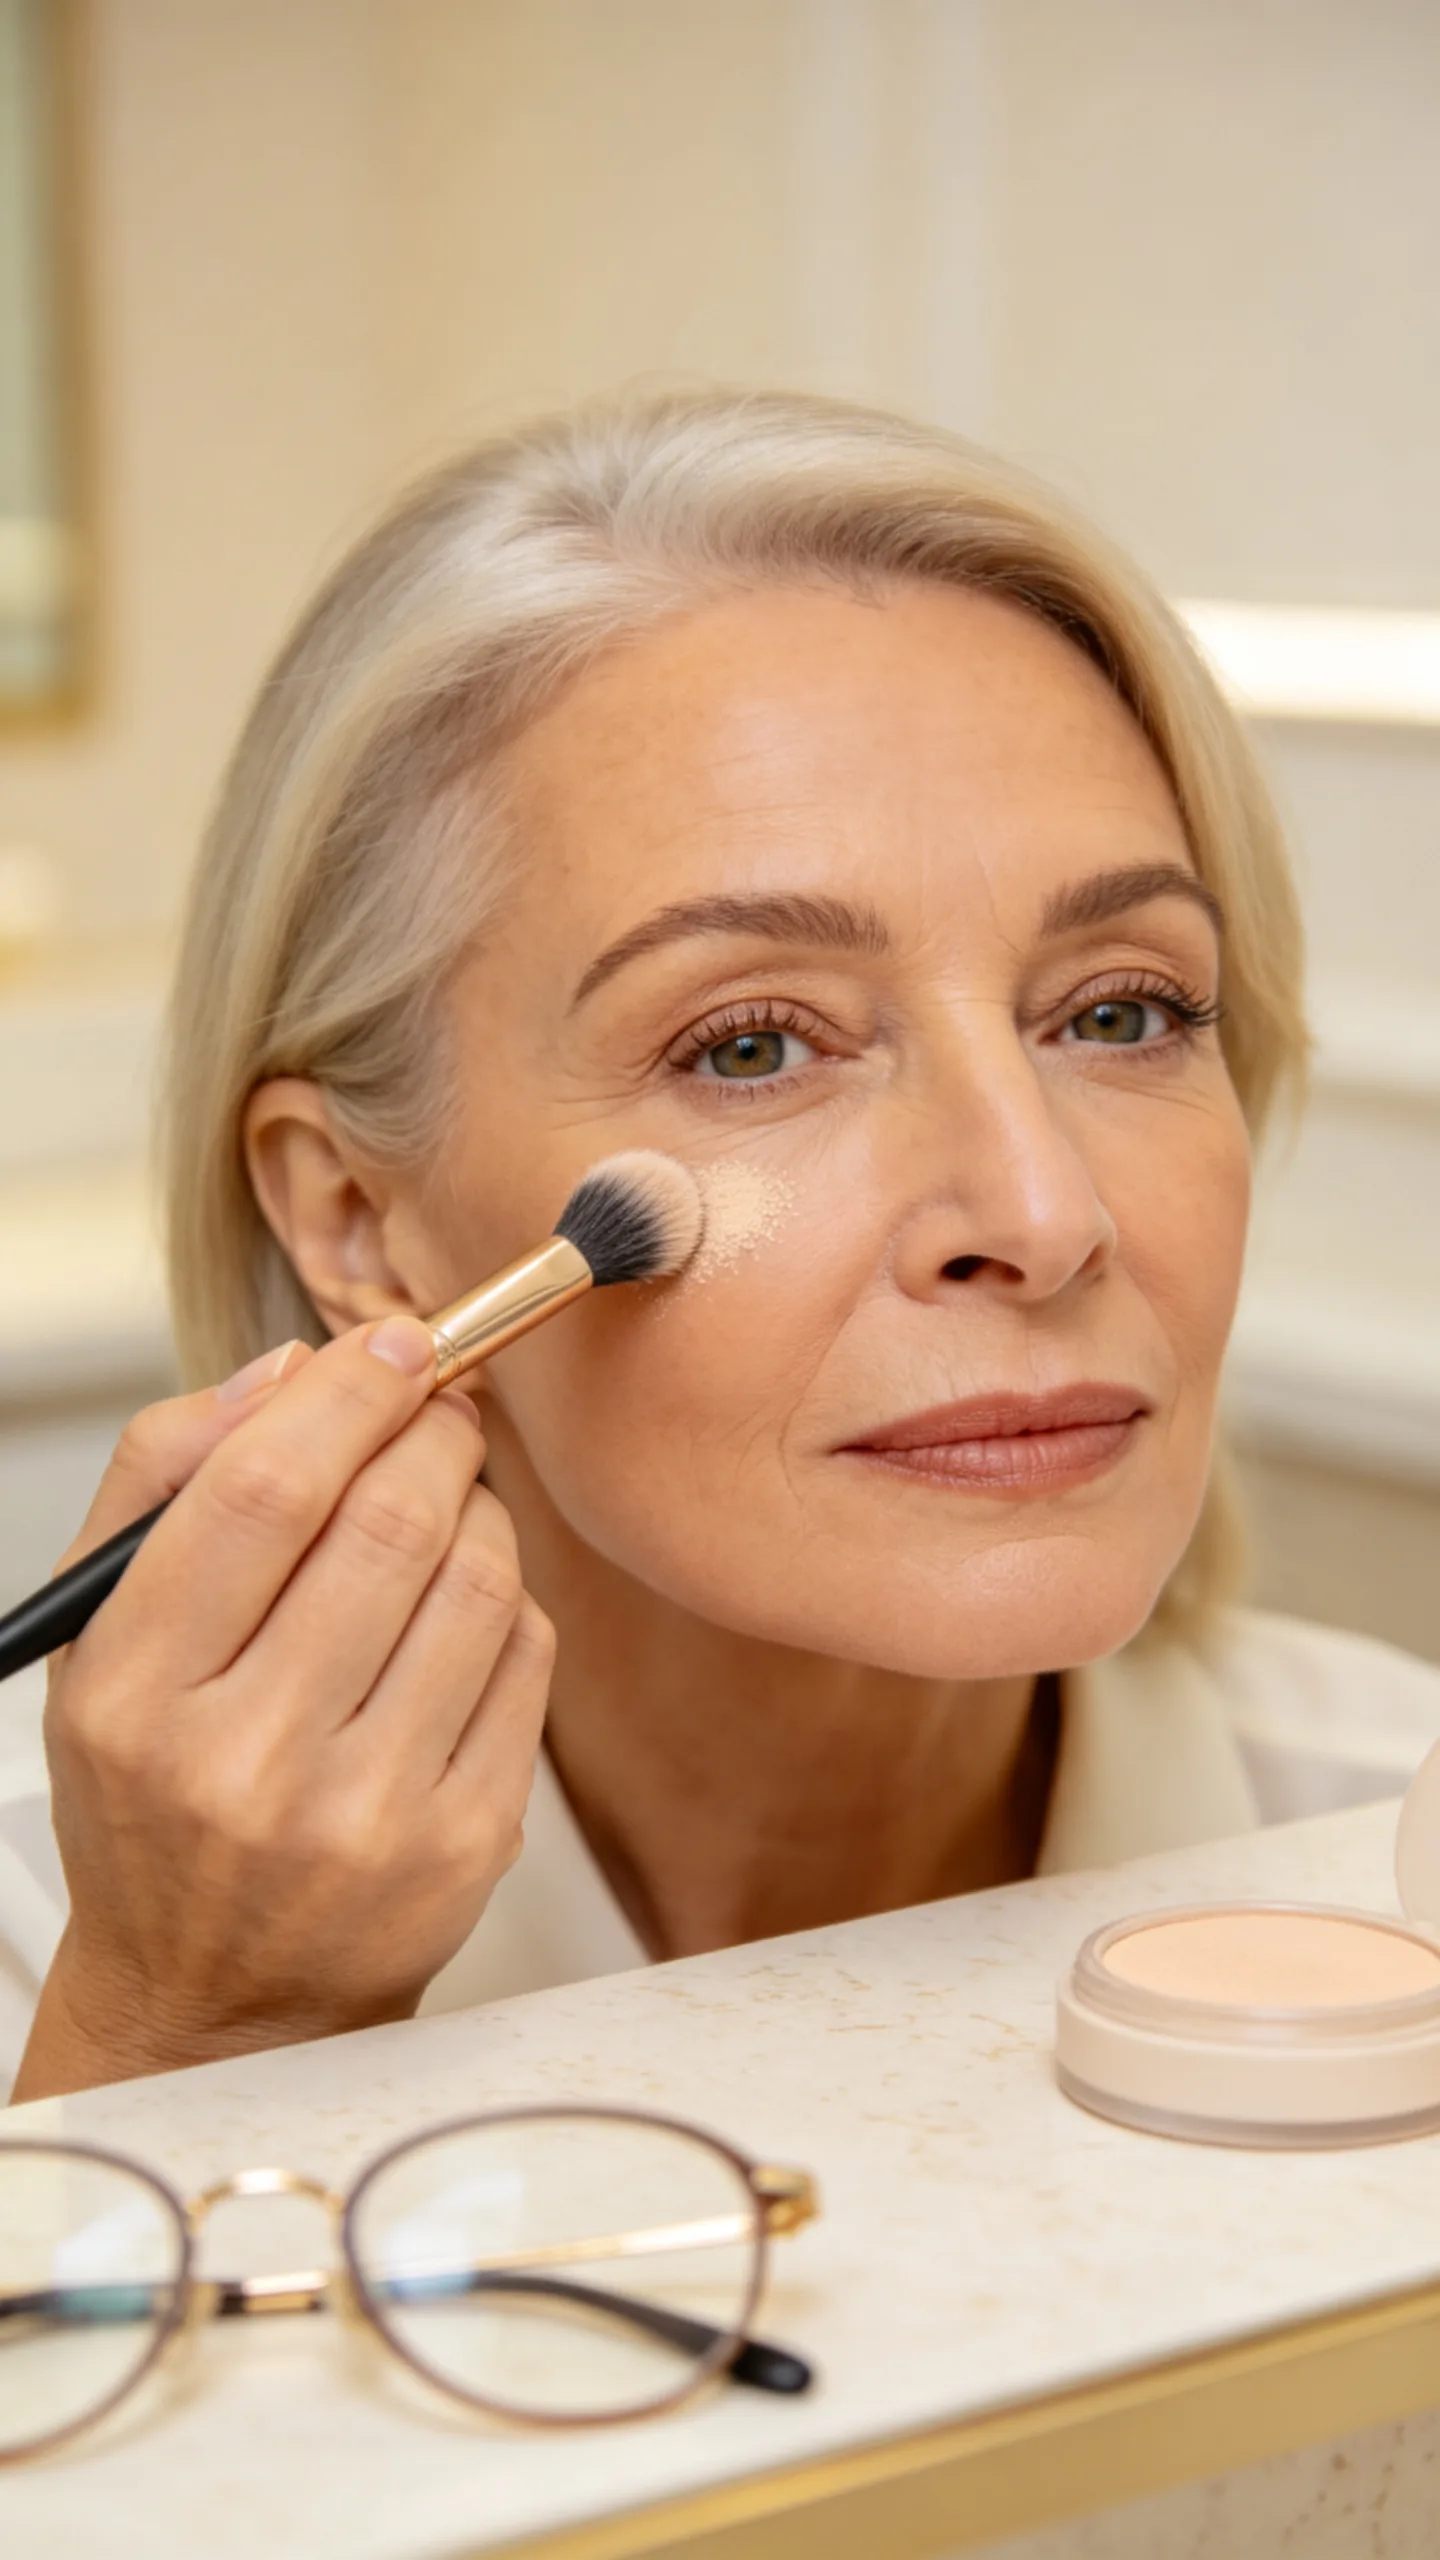
Tap a small amount of finely milled setting powder beneath the eyes after applying concealer. Concentrate it where mascara or liner tends to transfer instead of covering the entire under-eye area with a thick layer.
Use a small fluffy brush and remove excess powder before putting on glasses. Heavy powder can collect in fine lines and become more noticeable when the lenses magnify the eye area.
12. Use a Matte Lid Shade for Everyday Definition
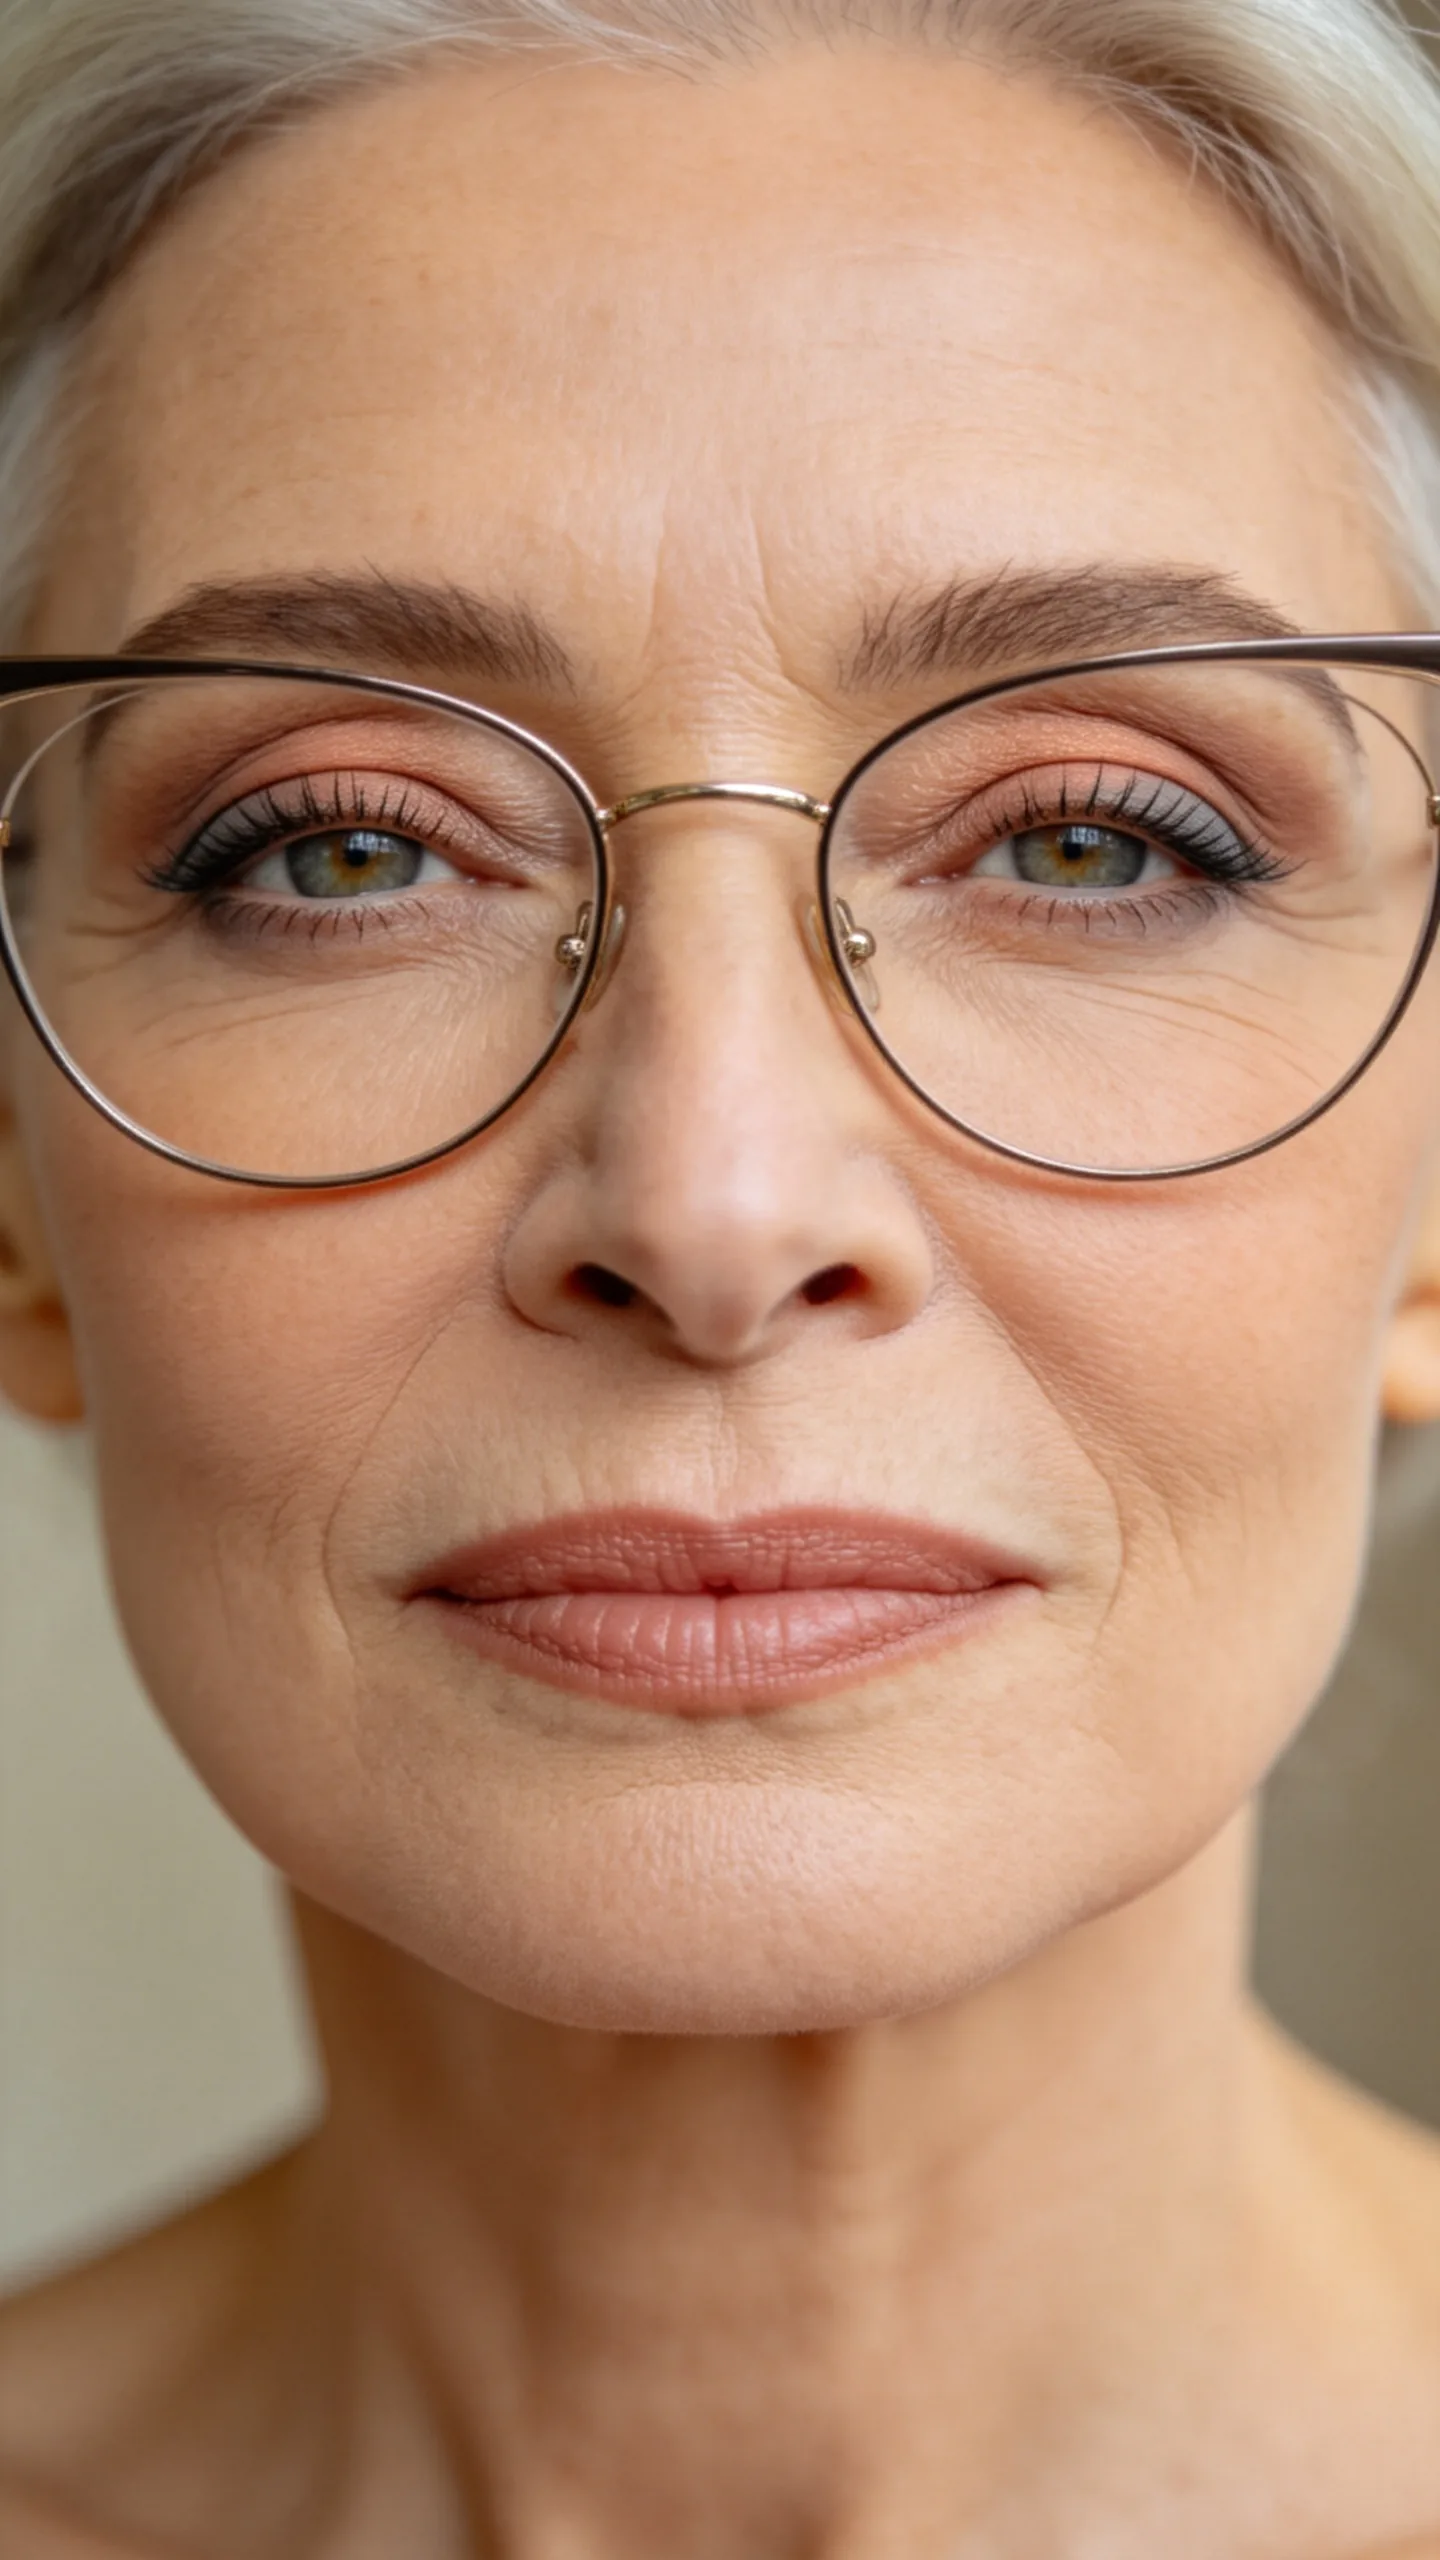
Sweep a matte beige, rose-brown, soft gray, or muted peach shade across the movable lid. Matte color creates a clean base for liner and remains wearable with both bold and delicate frames.
For a brighter effect, add a small satin accent only to the center of the lid. Keep shimmer away from areas where the glasses create strong reflections or where shadow tends to crease.
13. Choose Waterproof Products for Watery Eyes
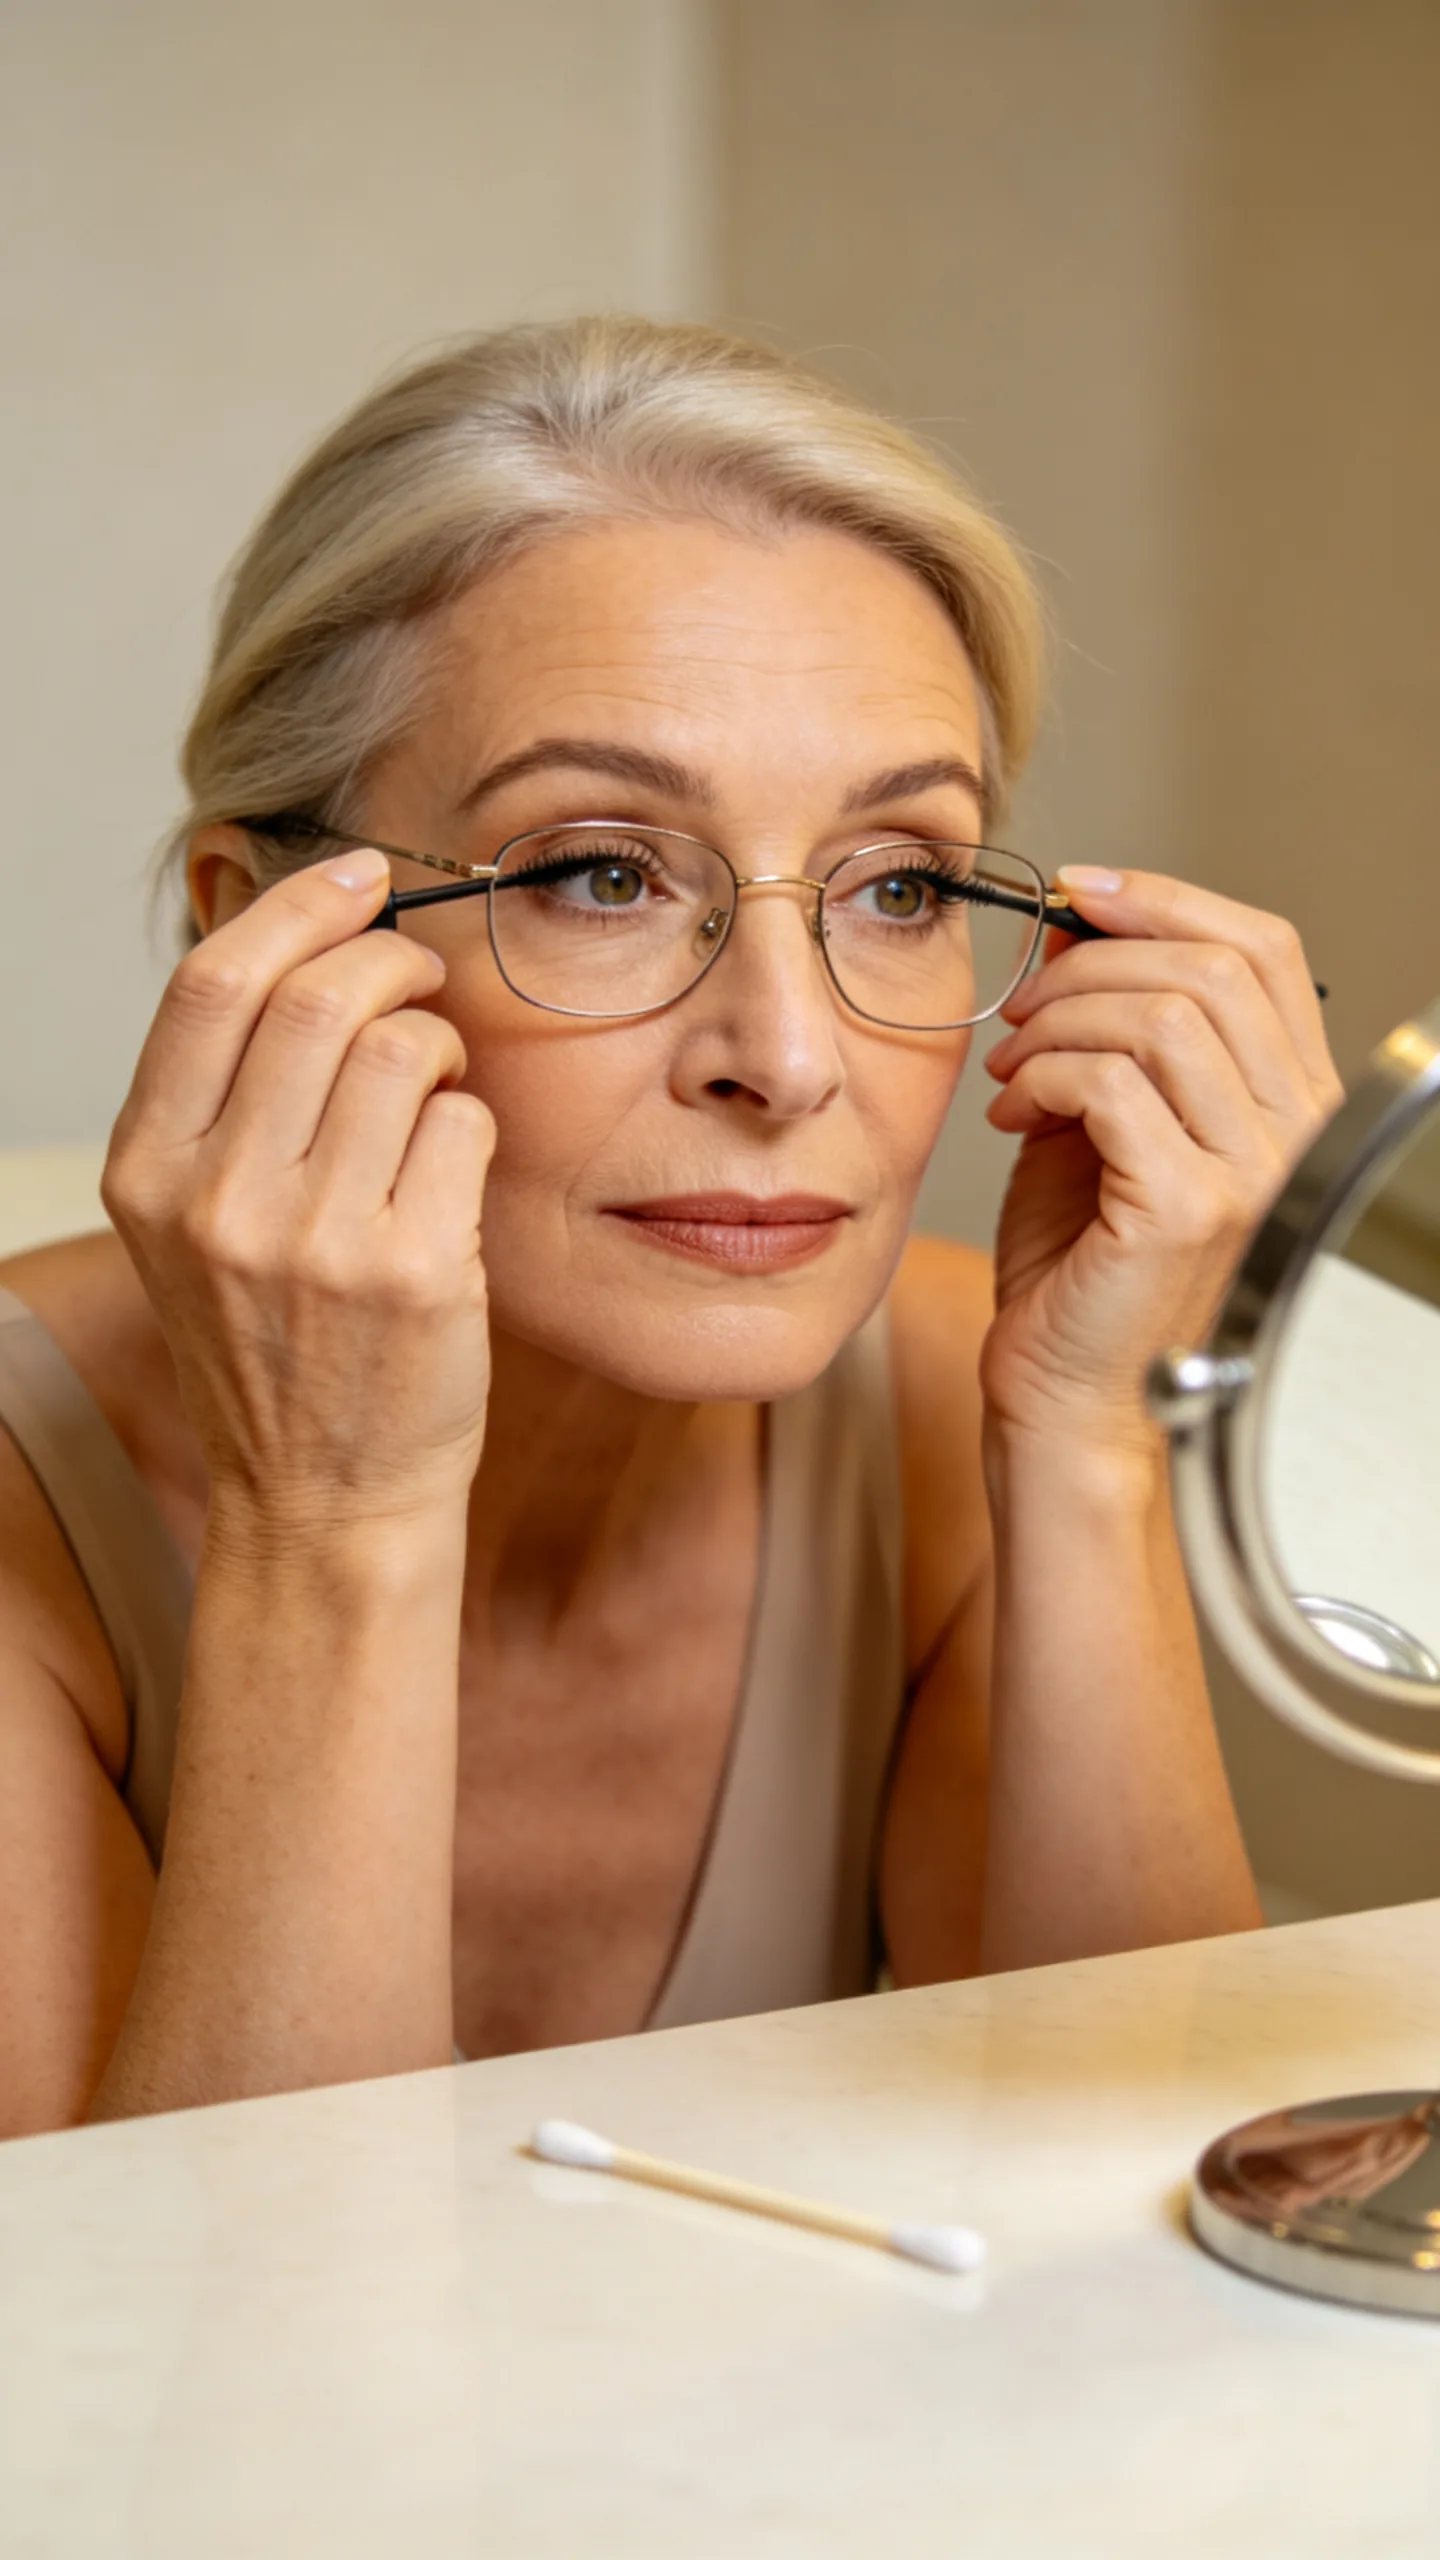
Select waterproof or water-resistant liner and mascara if wind, allergies, or dry eyes cause watering. Apply thin layers so the products remain flexible and do not flake onto the lenses.
Carry a cotton swab and a small mirror for quick corrections. Instead of rubbing the area, lift away smudges with the clean end of the swab and touch up the shadow underneath.
14. Coordinate Brows with the Glasses Frame
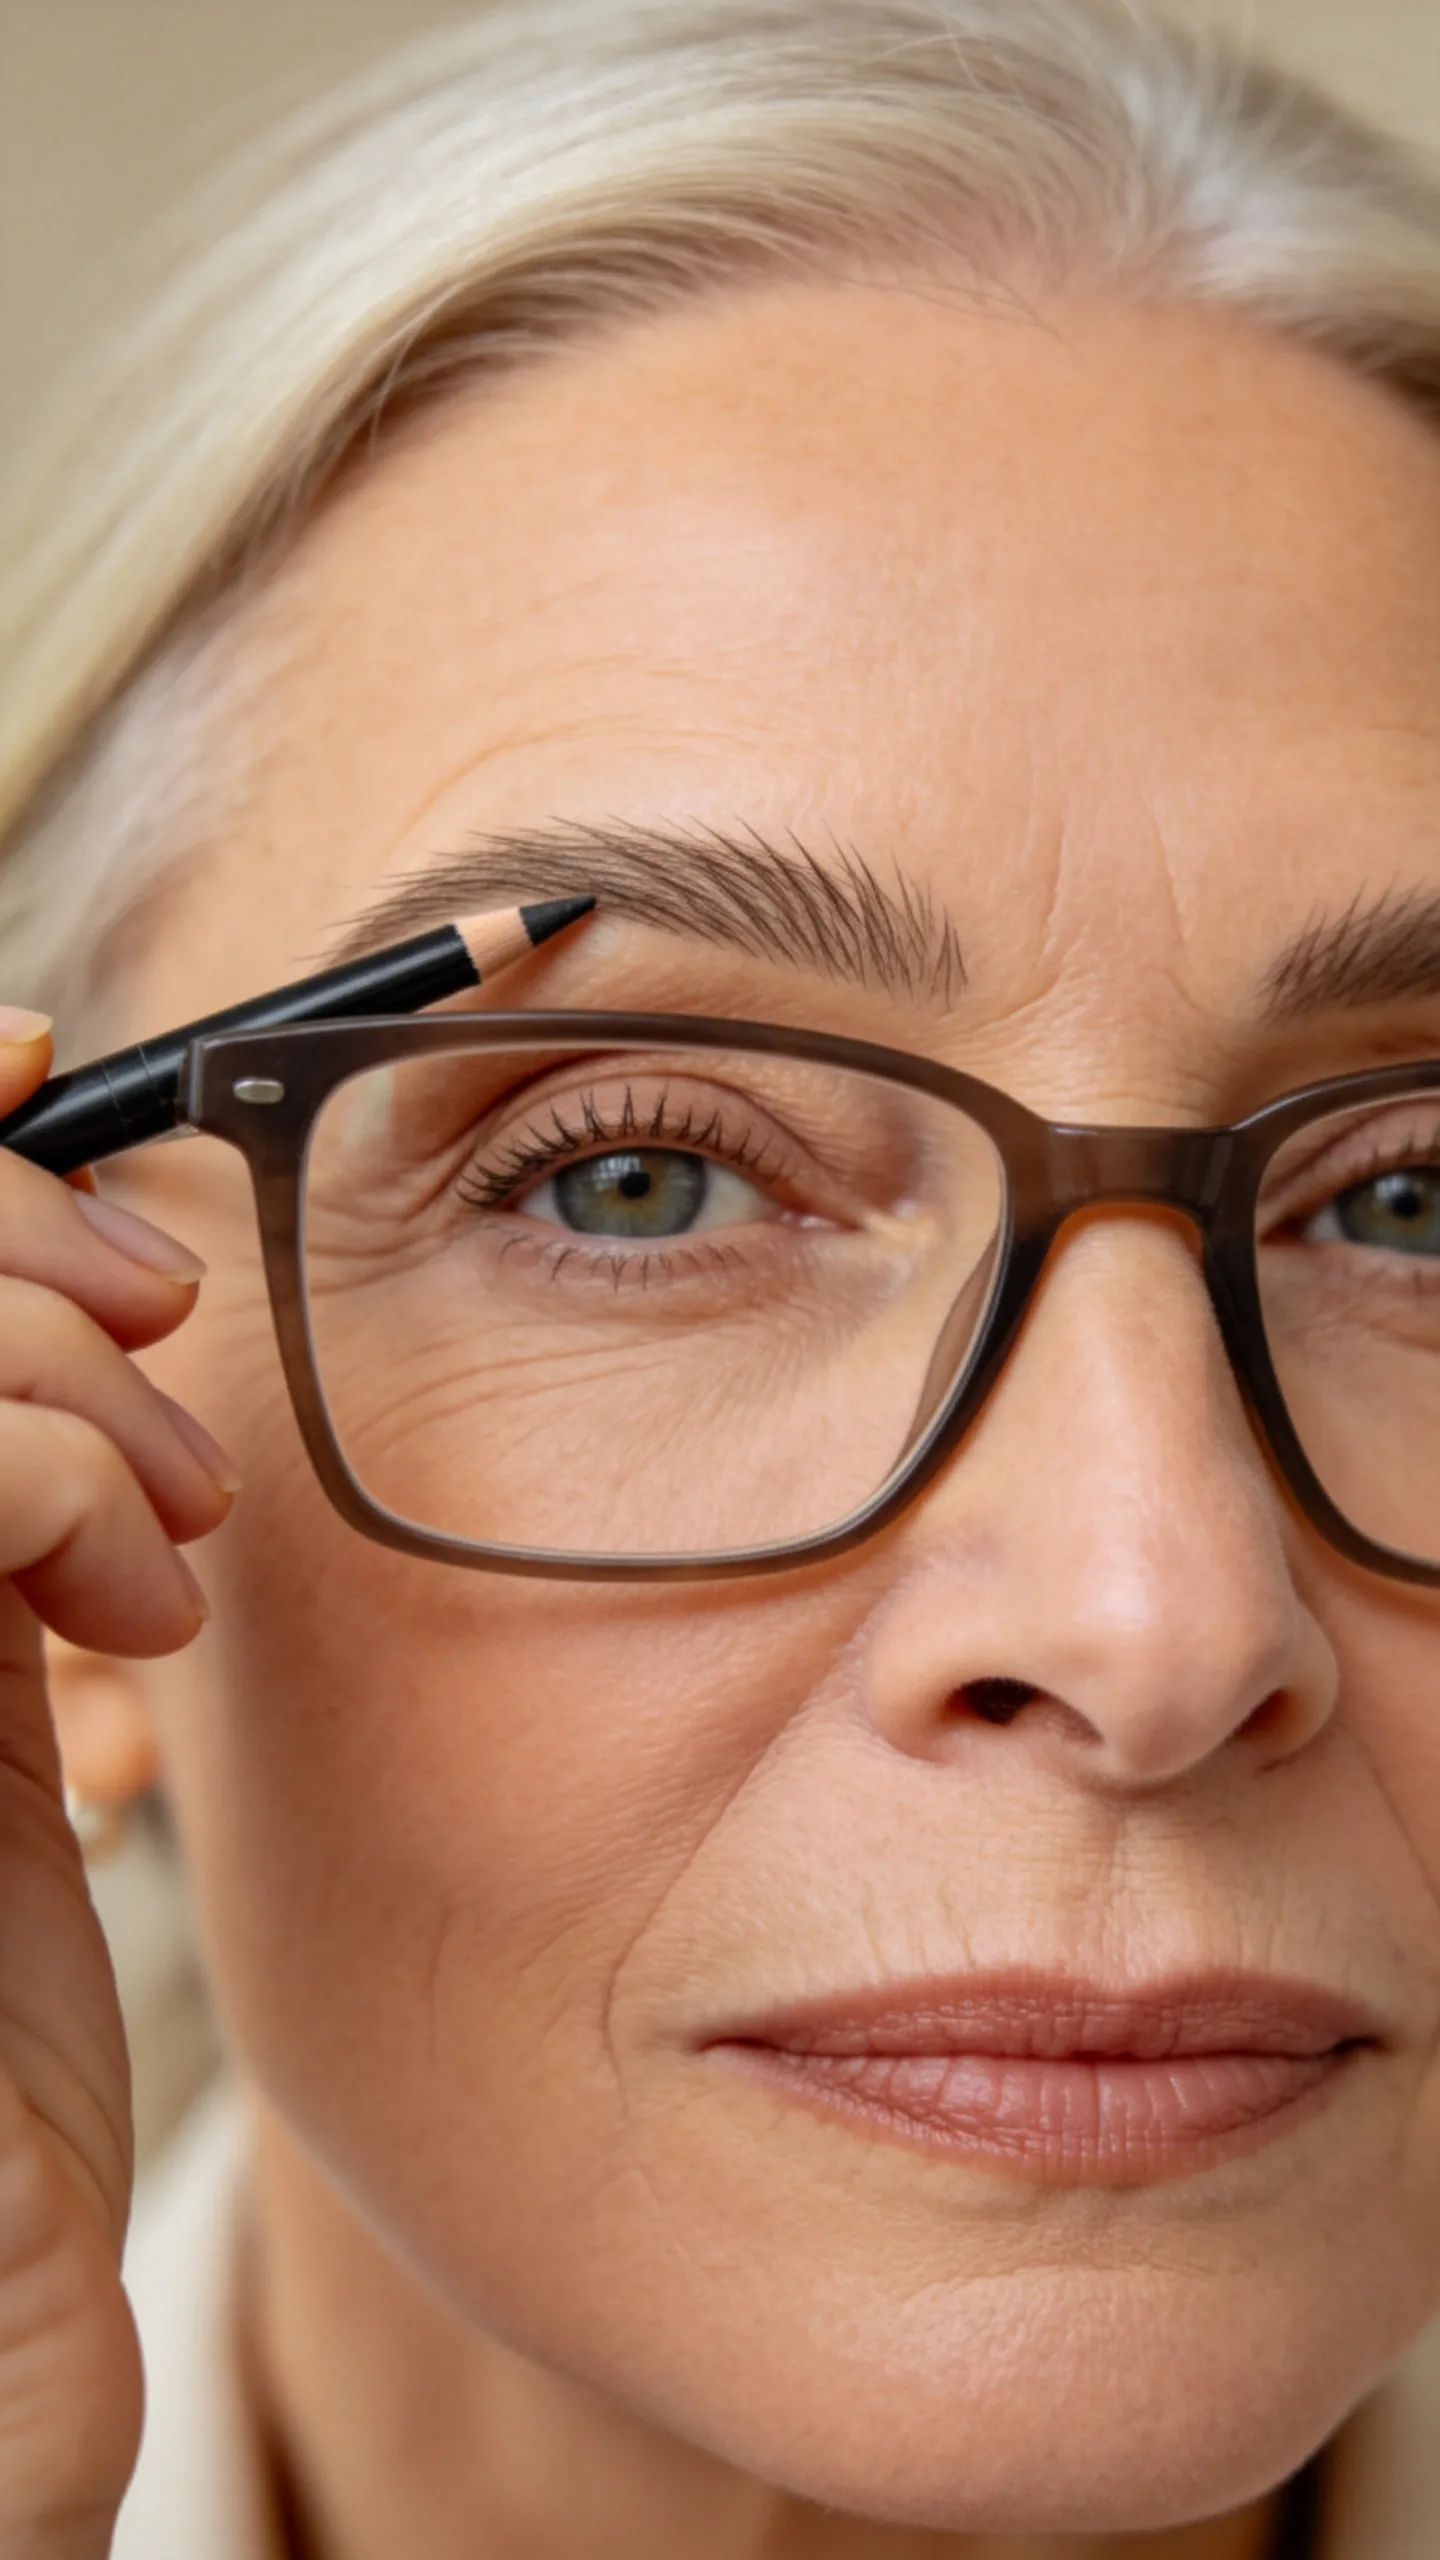
Fill sparse brows with a fine-tip pencil or powder in short strokes that follow the natural hair direction. Keep the front of the brow lighter and use slightly more definition through the arch and tail.
Brush the brows upward with clear or tinted gel, checking that the shape does not collide visually with the top of the frames. A softly defined brow helps organize the space around the eyes without requiring heavy shadow.
15. Test the Finished Makeup with Your Glasses On
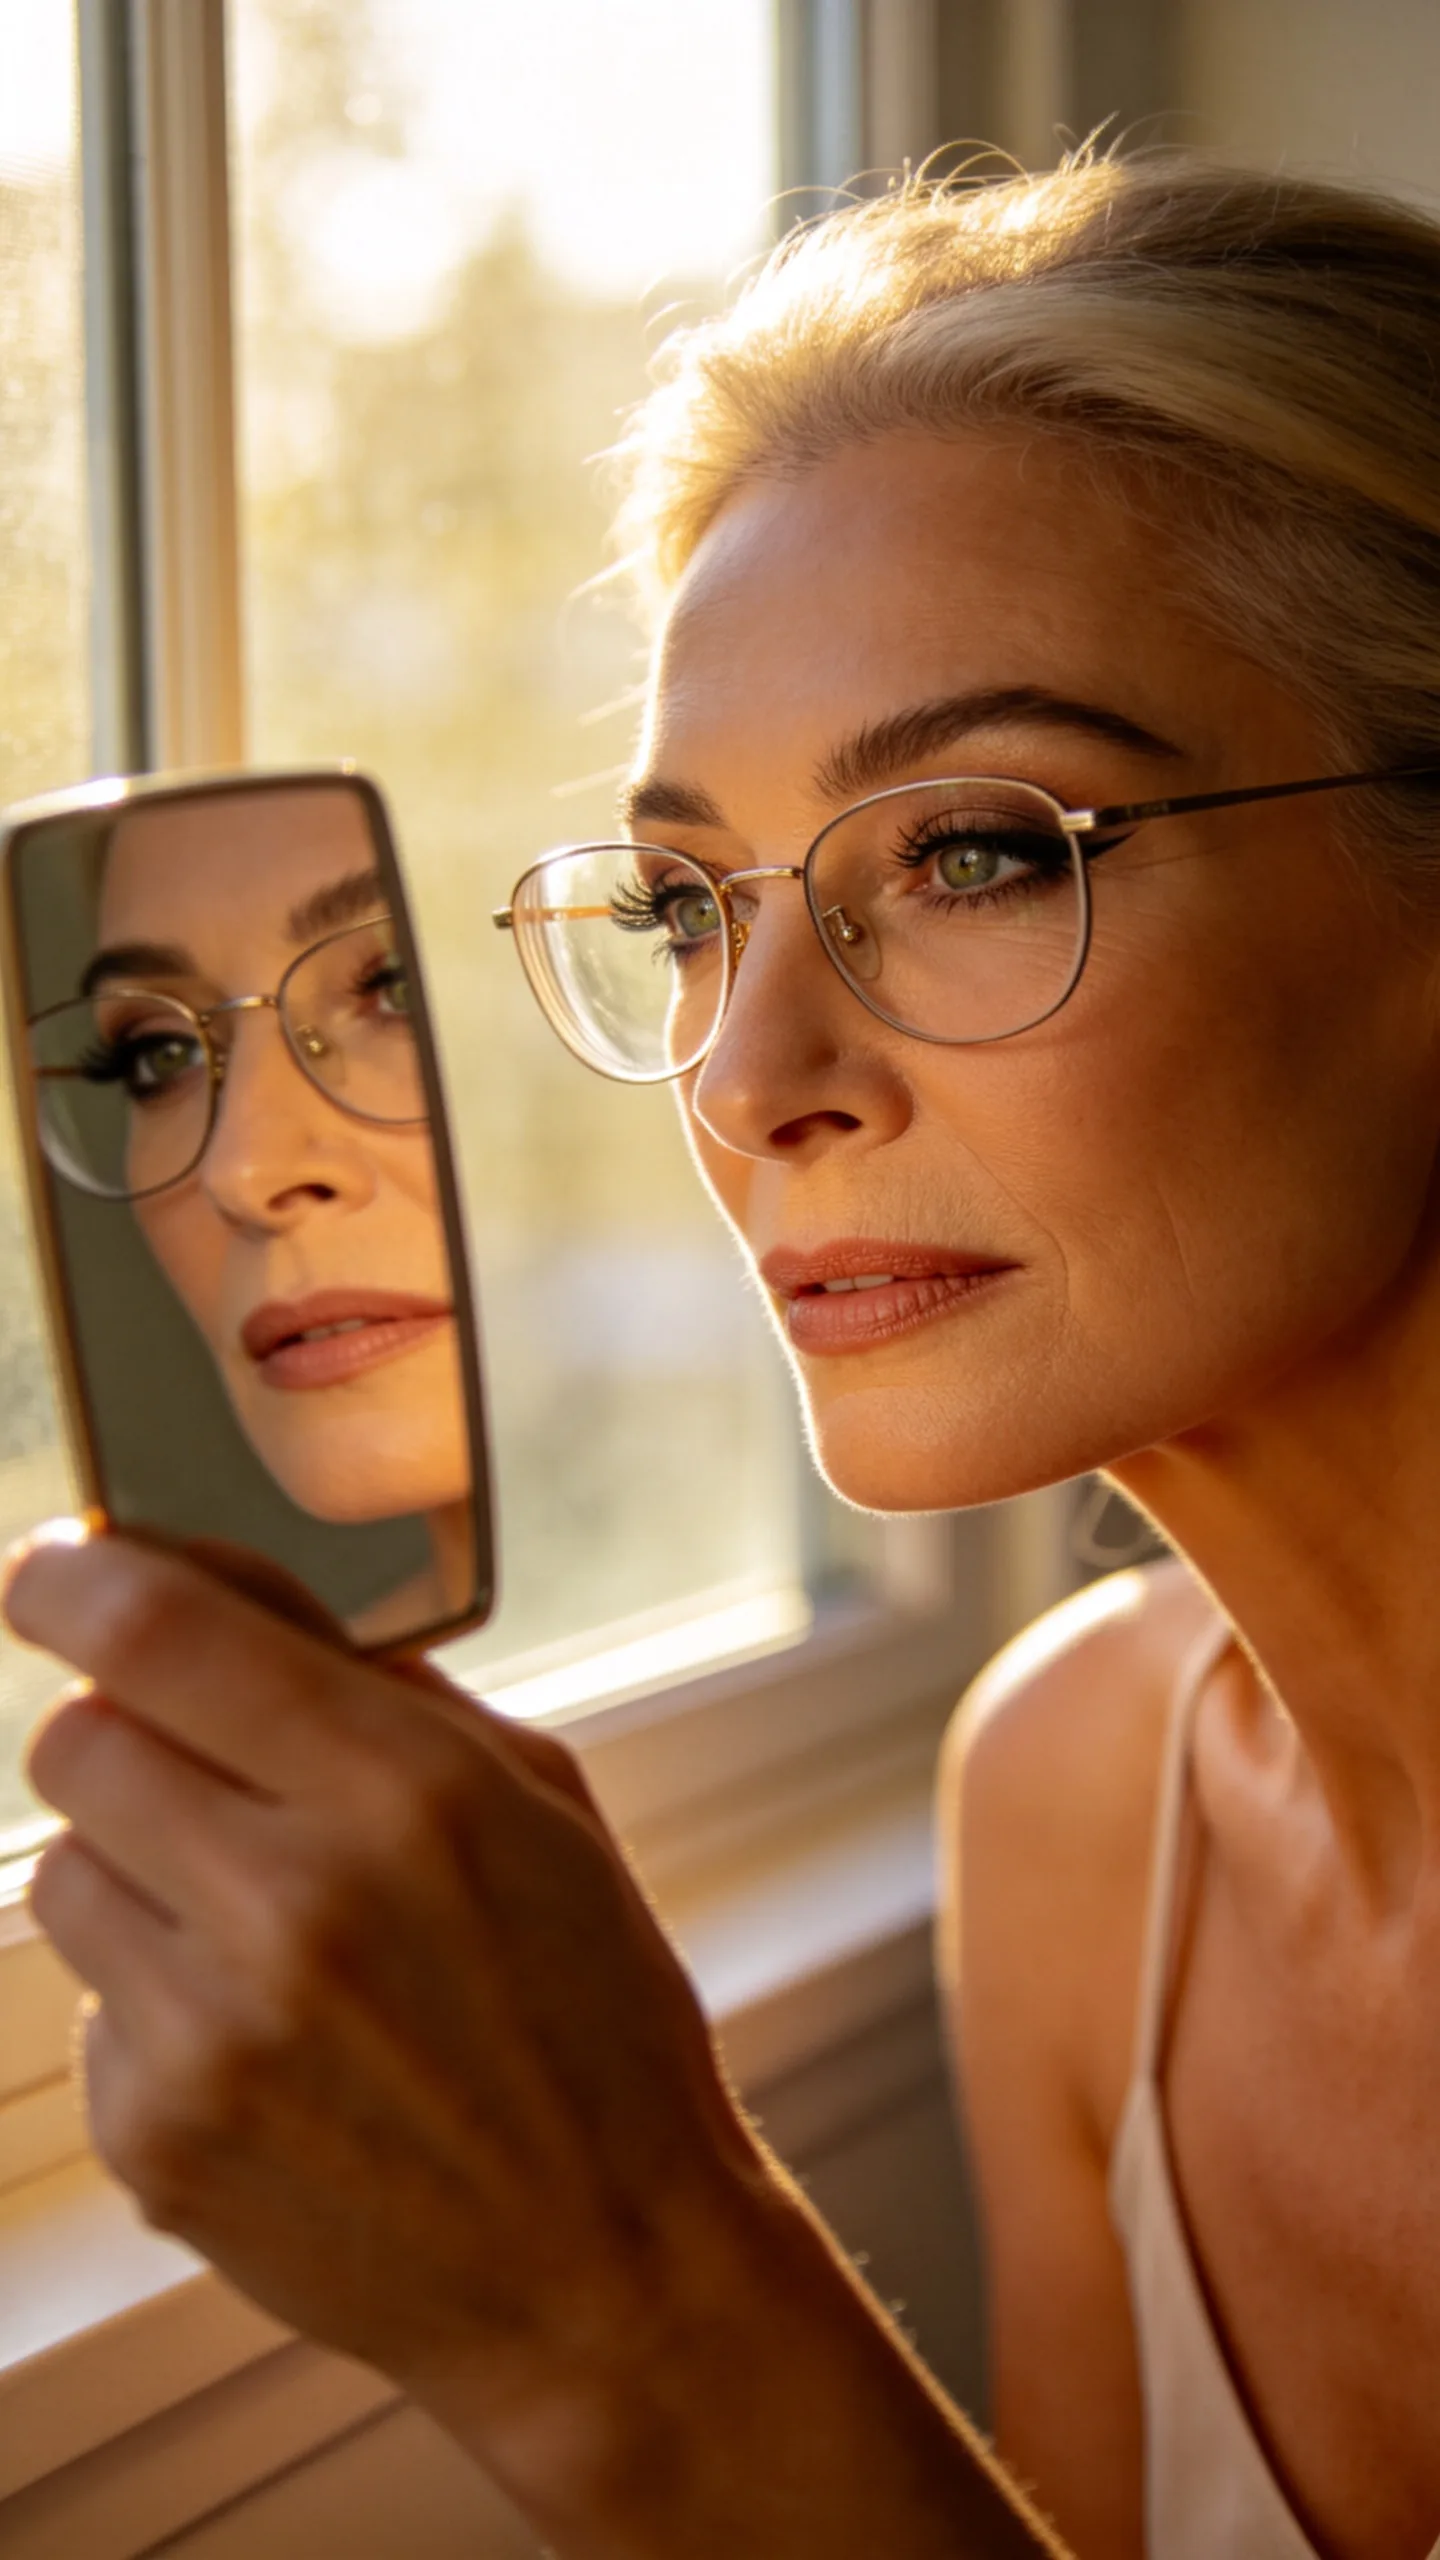
Put on your glasses after completing one eye and inspect the makeup in natural light. Check whether the frames hide the crease color, whether mascara touches the lenses, and whether the liner remains visible from a normal speaking distance.
Adjust placement rather than simply adding more product. Raising the crease shade slightly, concentrating liner at the outer lashes, or switching to a satin highlight can make the eye makeup show clearly while keeping the finish lightweight.